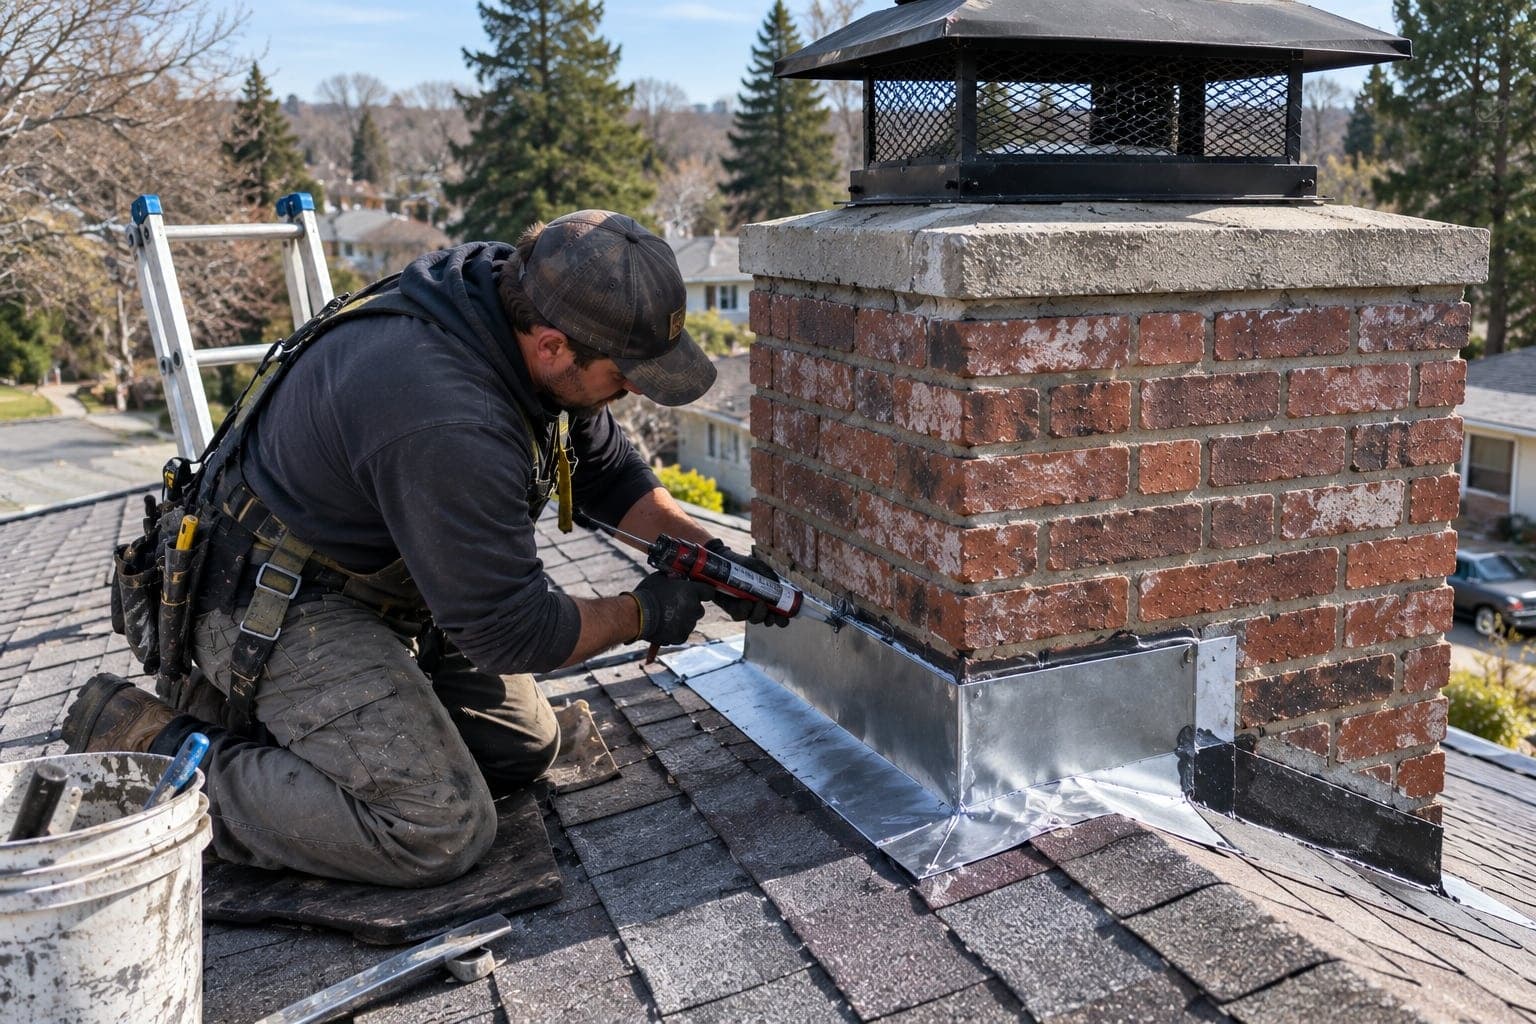
A stain beside the chimney is a different clue from water in the fireplace
Where water ends up tells you where it got in. Water that lands inside the firebox or drips onto the damper almost always entered through the top of the flue, which is covered on our page about water coming into the fireplace. A stain on drywall, trim or attic wood next to the chimney is different: the water has travelled along the outside of the chimney, through the framing around it, or along a roof deck, and surfaced wherever it could.
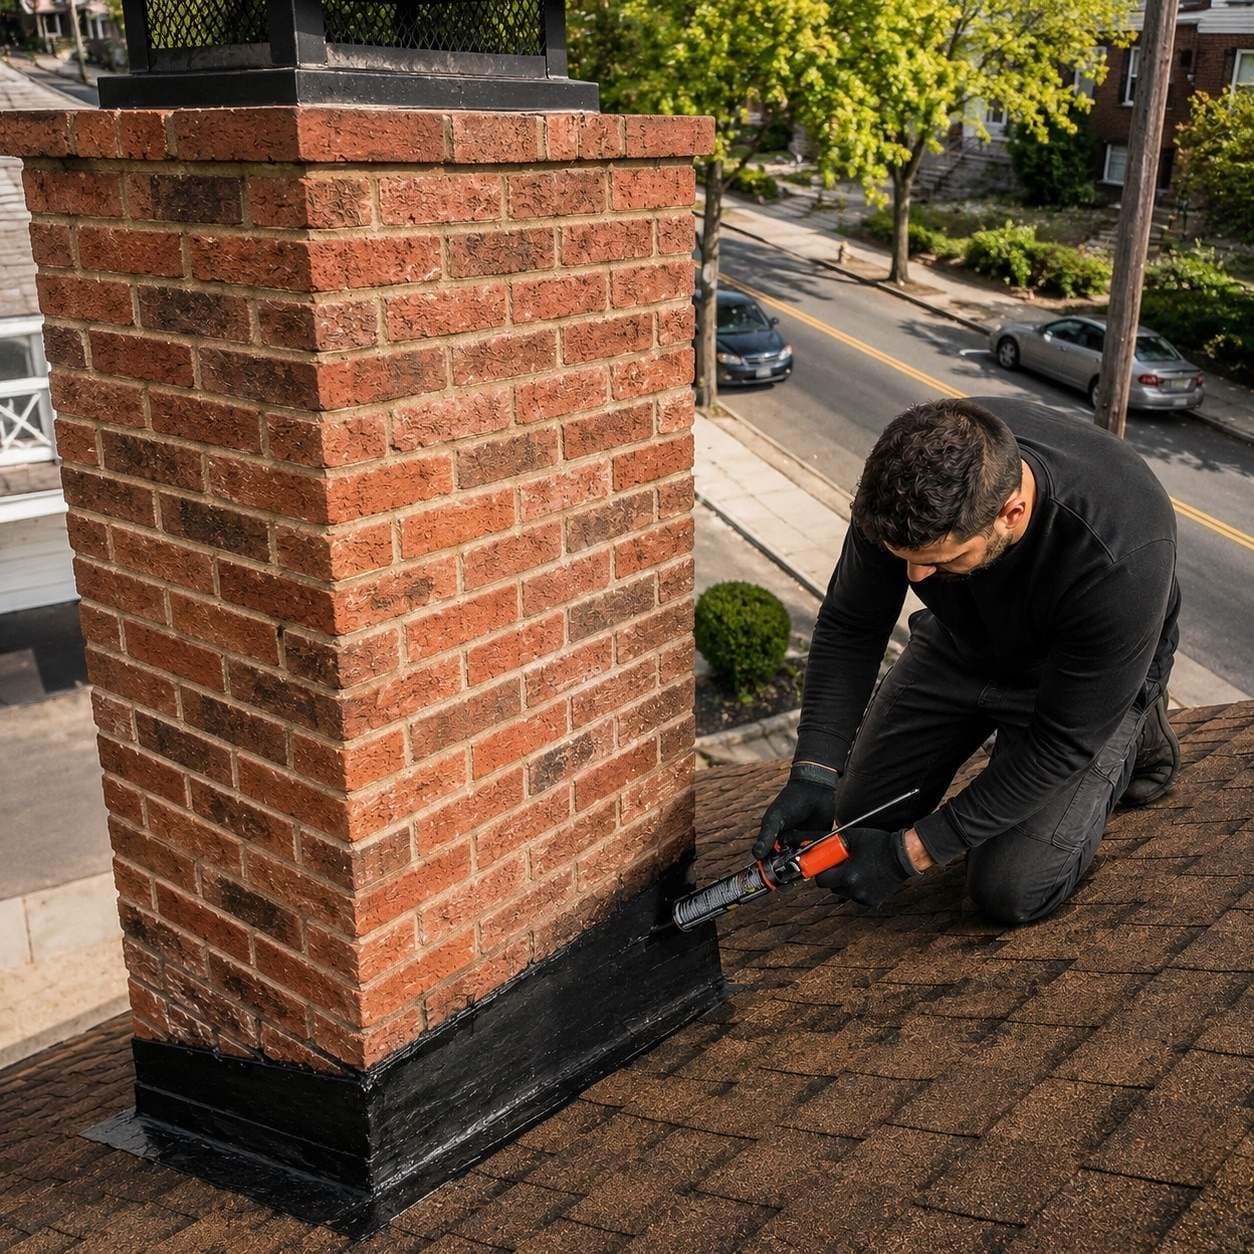
That makes the roofline the prime suspect, but not the only one. Water can run a surprising distance along rafters and ceiling joists before it soaks through, so a stain a few feet from the chimney can still be a chimney problem, and a stain right against the chimney can be a roof leak further uphill.
Possible causes, most likely first
Where the water behind a chimney stain usually comes from
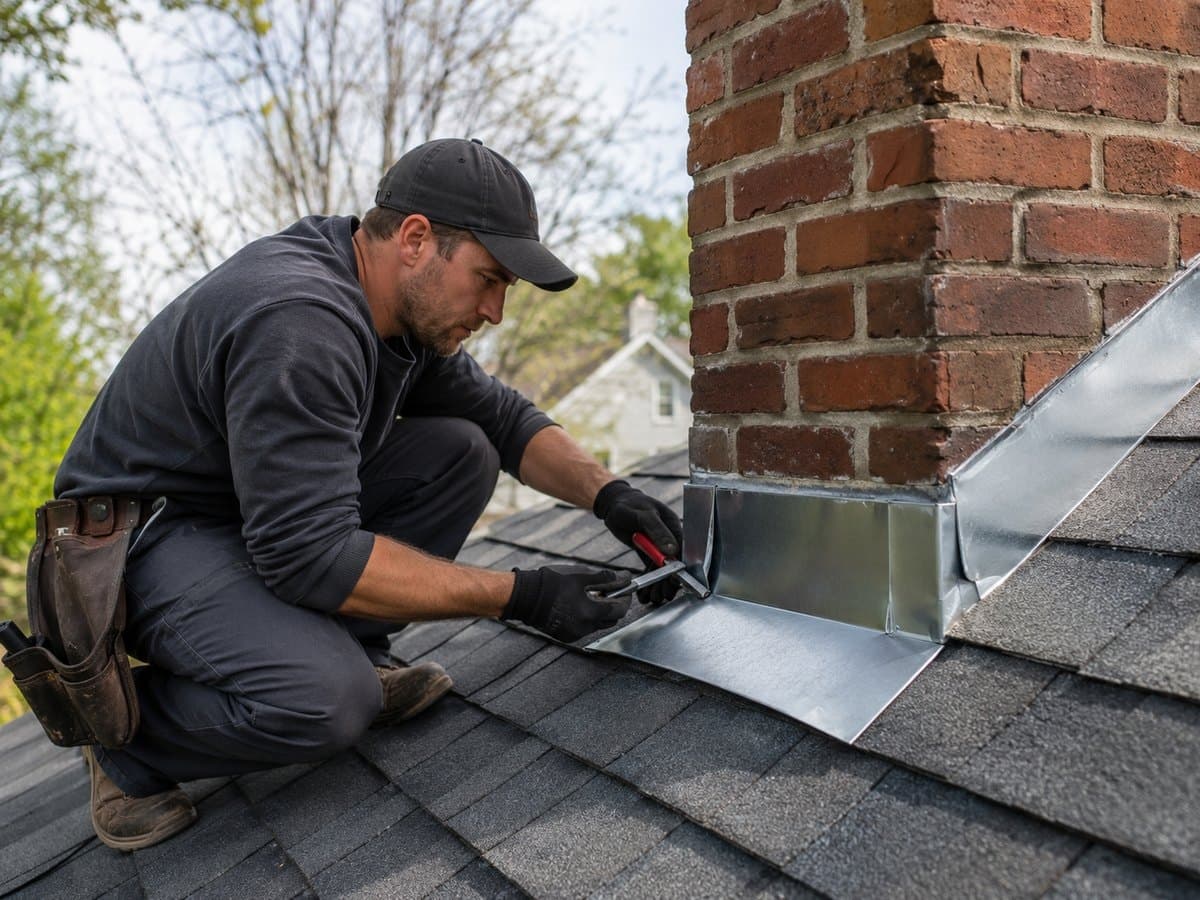
01Flashing and counter-flashing
- What you may notice
- Stains on the ceiling or upper wall right where the chimney meets the house, worse in heavy rain. Often begins after a reroof, when the old metal was bent back, reused or sealed with roof cement instead of being replaced.
- How it’s confirmed
- Step flashing along the sides, counter-flashing set into the masonry or lapped by the chase siding, and the sealant joints are inspected, with extra attention to the uphill face where water piles up.
02Missing or undersized cricket
- What you may notice
- A leak that tracks down the uphill side of a wide chimney, sometimes with leaves and debris collecting behind it on the roof.
- How it’s confirmed
- Measuring the chimney width across the slope and checking whether a cricket (saddle) is present and properly flashed to divert water around the chimney.
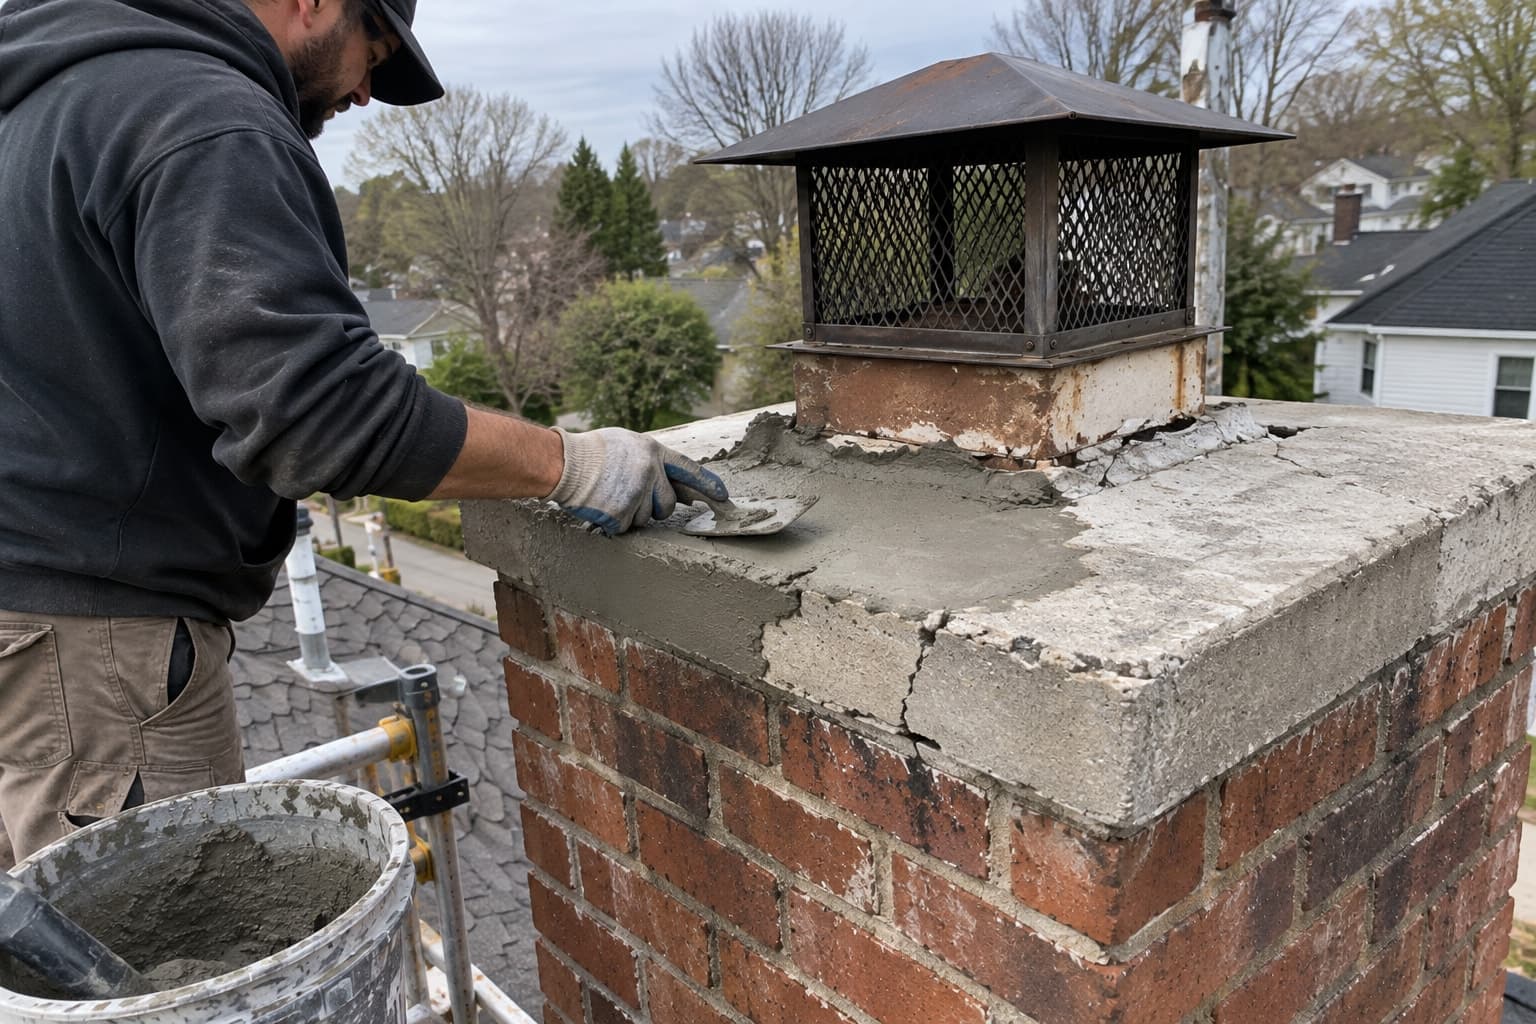
03Crown on a brick chimney
- What you may notice
- Stains that develop slowly, damp brick near the top, white deposits on the brick below the crown.
- How it’s confirmed
- The crown is checked for cracks, a flat surface that holds water, missing overhang and an open joint around the flue tile.
04Water soaking through the masonry
- What you may notice
- A damp patch that shows up a day or so after long rain rather than during it, often with efflorescence on the brick outside or in the attic.
- How it’s confirmed
- Mortar joints and brick faces are examined for gaps and spalling; a controlled water test on one face can confirm absorption.
05Chase cover or chase siding (framed chimneys)
- What you may notice
- Stains lower down the wall where the chase meets the house, swollen trim, peeling paint or rust streaks outside on the chase.
- How it’s confirmed
- The chase cover is checked for pooling and rust-through, and siding, stucco, trim and caulk joints are probed for soft wood and open seams.
06An ordinary roof leak next to the chimney
- What you may notice
- Stains that are near, but not touching, the chimney; damaged or lifted shingles or tiles uphill; a roof that is near the end of its life.
- How it’s confirmed
- Following water trails on the underside of the roof deck in the attic back to their highest point, then comparing that with the chimney’s position.
07AC ducts, air handler or condensate line
- What you may notice
- Stains that grow on hot, humid days with the air conditioning running and no rain at all, often near a supply register or where ducts pass the chase in the attic.
- How it’s confirmed
- In the attic, looking for wet duct insulation, dripping boots, or a sweating air handler or drain line near the chimney. That is an HVAC repair, not a chimney one.
08Plumbing vents and other roof penetrations
- What you may notice
- A stain near the chimney where a plumbing vent, exhaust fan outlet or skylight is also close by uphill.
- How it’s confirmed
- Checking the rubber boots and flashing on nearby penetrations; cracked vent boots are a common roofing repair.
The Florida Building Code requires flashing at wall and roof intersections and around roof openings, and a cricket or saddle on the ridge side of any chimney more than 30 inches wide measured perpendicular to the slope (FBC Residential 2023, Chapter 9 via UpCodes). A wide chimney without one is a strong lead.
Masonry chimney and fireplace, cutaway
- 1Chimney cap. Metal lid with mesh sides over the flue opening. Keeps rain, debris and animals out.
- 2Crown. The concrete or mortar top of the masonry, sloped to shed water away from the flue.
- 3Flue liner. Clay tile or metal lining that carries smoke up and protects the masonry from heat.
- 4Flashing. Metal that seals the joint between the chimney and the roof.
- 5Brick & mortar. The chimney structure. Mortar joints and brick faces absorb water when they wear.
- 6Smoke chamber. The sloped transition that funnels smoke from the firebox into the flue.
- 7Damper. Metal plate at the throat (or a sealing lid on top) that closes the flue when not in use.
- 8Firebox. Where the fire burns. Firebrick laid in heat-resistant mortar.
- 9Hearth. Non-combustible floor extension in front of the fireplace opening.
What the timing of the stain tells you
| When the stain appears or grows | Most likely source | Check first |
|---|---|---|
| During or right after every heavy rain | An open path at the roofline | Flashing, counter-flashing, cricket |
| Only in storms with strong wind from one direction | Gaps on the windward side | Flashing and siding on that face; see how wind-driven rain gets in |
| A day or two after a long soaking rain | Water absorbed into brick or framing, then released | Crown, mortar joints, chase siding |
| On dry, humid days with the AC running | Condensation, not rain | Ducts, air handler and drain line in the attic |
| Since a new roof was put on | Flashing disturbed or not replaced | Step and counter-flashing |
| Slowly, over months, with no clear pattern | Chase framing or masonry staying wet | Chase cover, siding, brick absorption |
Safe checks you can do yourself
Most of the useful evidence is in the attic and in your notes, not on the roof. Leave the roof itself to someone with fall protection.
Before you call anyone
- Mark the edge of the stain in pencil and date it. If it spreads past the line after the next rain, it is active.
- Write down the date, how long it rained, and the wind direction for each time the stain changes.
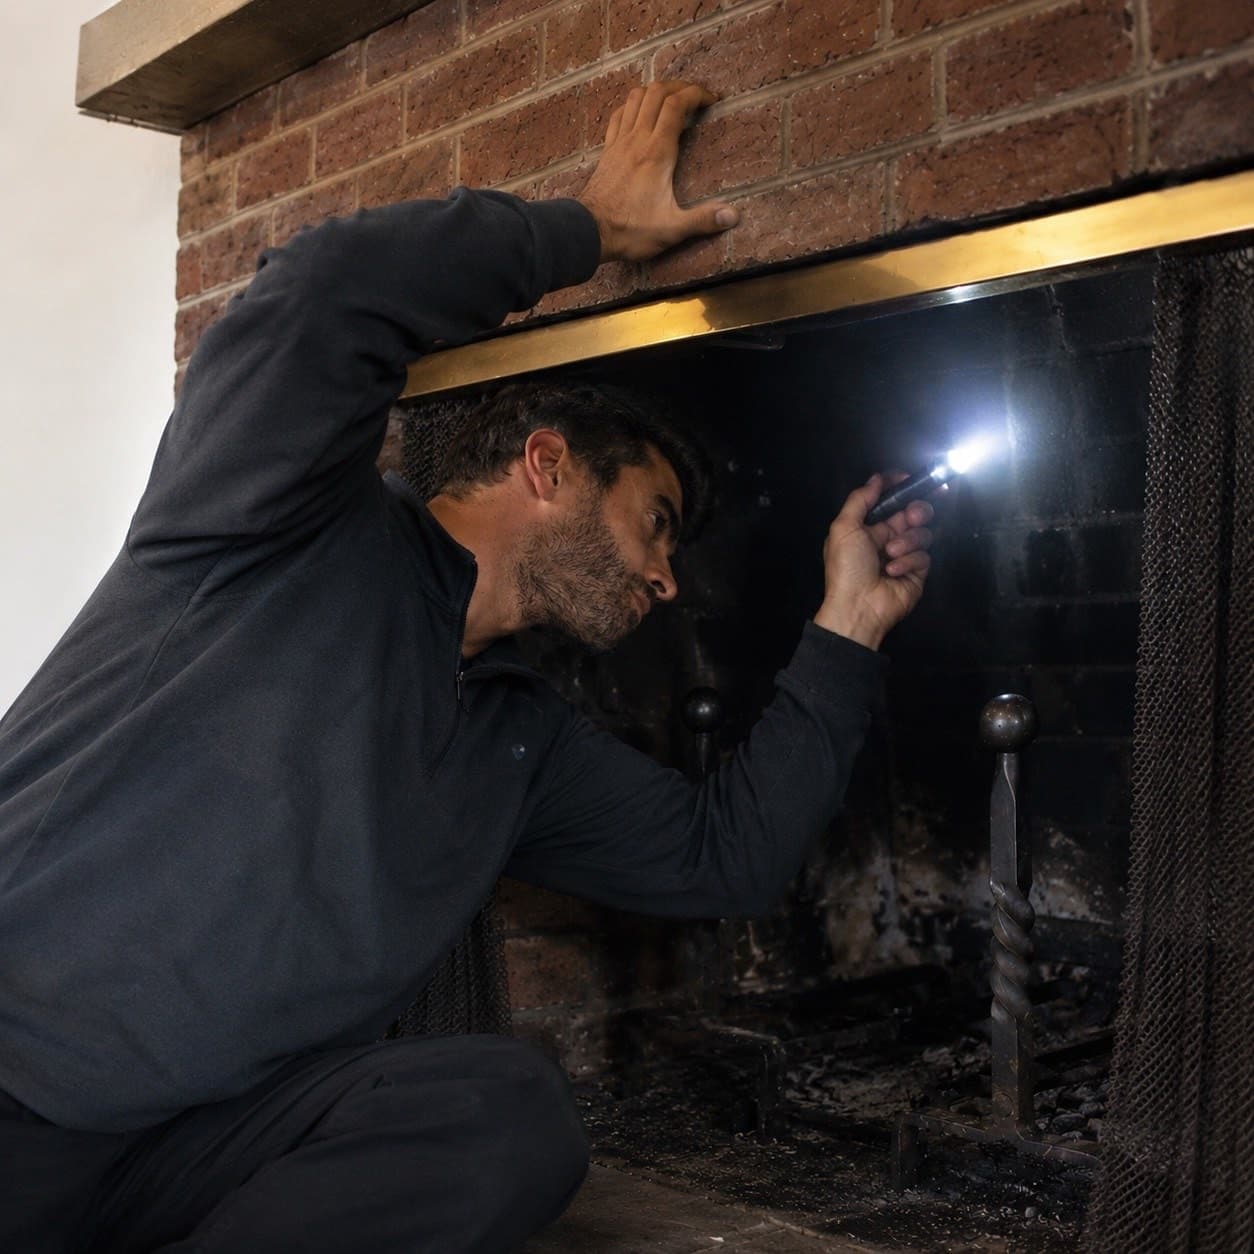
- In the attic, step only on joists or boards and use a bright flashlight. Look along the chimney or chase for dark wood, water trails on the underside of the roof deck, or damp insulation.
- Follow any water trail uphill to its highest point. A trail that starts above the chimney points to the roof, one that starts at the chimney points to flashing or the chimney itself.
- On a hot afternoon with no rain, check whether ducts, register boots or the air handler near the chimney are wet or dripping.
- From the ground or a window, use binoculars to look for loose metal at the roofline, cracked roof cement, or rust streaks on a framed chase.
Don’t paint over it yet
A stain-blocking primer hides the evidence you need to tell whether a repair worked. Wait until the source is fixed and the drywall has stayed dry through a few storms, then prime and paint.
Red flags that need attention now
When a ceiling stain becomes a safety issue
A ceiling that sags, bulges or feels soft can hold a surprising amount of water and may come down. Keep people out from under it. If water is near a light fixture, fan or outlet, switch that circuit off at the breaker panel and have an electrician check it before you turn it back on.
- Stains that keep spreading after each rain: every storm is soaking the framing again.
- Dark, soft or crumbling wood around the chimney in the attic: rot has already started and needs to be assessed along with the leak.
- Musty odor or visible mold on the wall or ceiling near the chimney. The page on a fireplace that smells musty in humid weather explains how odor and moisture are linked.
- Stains that appeared after a hurricane or tropical storm: treat the flashing, cap and chase cover as possibly storm-damaged.
What a professional leak diagnosis involves
Start with the pattern
Your notes on timing, wind and location are reviewed first. They often rule out half the causes above before anyone climbs a ladder.
Inside and attic
The stain, the ceiling or wall around it and the attic space next to the chimney are checked for water trails, wet insulation, rot and non-chimney sources such as ducts or plumbing vents.
Roofline and chimney exterior
Flashing, counter-flashing, the cricket, the crown or chase cover, mortar joints, siding and sealant are inspected from the roof, uphill side first.
Isolate with water if needed
When two sources are possible, one area is wetted at a time, starting low and working up, while someone watches the attic or the stain. That ties the leak to one component instead of guessing.
Repair the source, then the damage
Repairs target what the testing confirmed. Interior drywall and paint come last, once the area has stayed dry.
If the source turns out to be a chimney component, the repair is handled as part of diagnosing and fixing a chimney leak. If the stains started with a new roof, read the guide on what should happen to a chimney during a reroof before you call the roofer back. White powder on the brick near the stain is its own clue, covered on the page about white stains on chimney brick.
From stain to repair
| Stain pattern | Where it’s fixed |
|---|---|
| Ceiling stain at the chimney corner, worse in wind-driven rain | flashing repair |
| Stains on both sides after any rain, damp brick in the attic | repairing a cracked crown |
| Rust-brown stains below a framed chimney | replacing a rusted chase cover |
| Stain that appears only in long storms | a whole-chimney leak diagnosis |
Paint over a stain only after the leak is fixed and the drywall has dried, or it comes back. Locally, chimney leak visits in Lake Mary and leak diagnosis for City of Orlando homes cover the inspection. If the stain started after a reroof, read reroofing around a chimney.
References (2)
Facts and figures on this page come from these references.