On this page
- Signs the route, not the lint, is the problem
- How equivalent length works
- Rerouting options, from least to most work
- Dryer vents under concrete slabs
- Booster fans instead of rerouting?
- Permits and the local building department
- How a reroute is planned
- What affects the cost of a reroute
- Reroute, or fit a booster fan?
A dryer’s blower can only push so much air through so much duct. Every foot of pipe and every change of direction adds resistance, and past a certain point the exhaust slows down enough that lint drops out along the way, drying times stretch out, and the dryer runs hotter than it should. The U.S. Fire Administration also notes that moisture in the exhaust can condense inside long or heavily bent vents, which helps lint cling to the duct walls. Cleaning that kind of vent helps for a while, then the same symptoms come back. Rerouting deals with the cause: it changes the path so the dryer isn’t fighting the duct on every load.
Rerouting is a bigger job than a repair. It usually means a new opening in an exterior wall or roof, new duct through walls, floors or the attic, and closing off the old route. This page explains when it is worth doing, how the length limit is worked out, and what the options are. Smaller fixes to an existing route, such as replacing a crushed section or a foil connector, are covered under dryer duct repair and replacement, and the dryer duct types guide explains which materials belong in a new run.
Signs the route, not the lint, is the problem
- The vent clogs again within months of a professional cleaning
- Airflow stays weak even right after the duct has been cleaned
- The run goes up through the attic to the roof from a first-floor laundry
- You can count several elbows between the dryer and the outside
- The duct runs a long way along the attic to reach a particular wall or roof slope
- The dryer manual’s venting table lists a shorter maximum than your run
- There is no length label on a run that is clearly long
- Part of the run is buried in a finished ceiling or slab, so it can’t be reached for cleaning or repair
- The outside termination sits behind an AC unit, under a deck or beside a window, where it is hard to service or too close to an opening
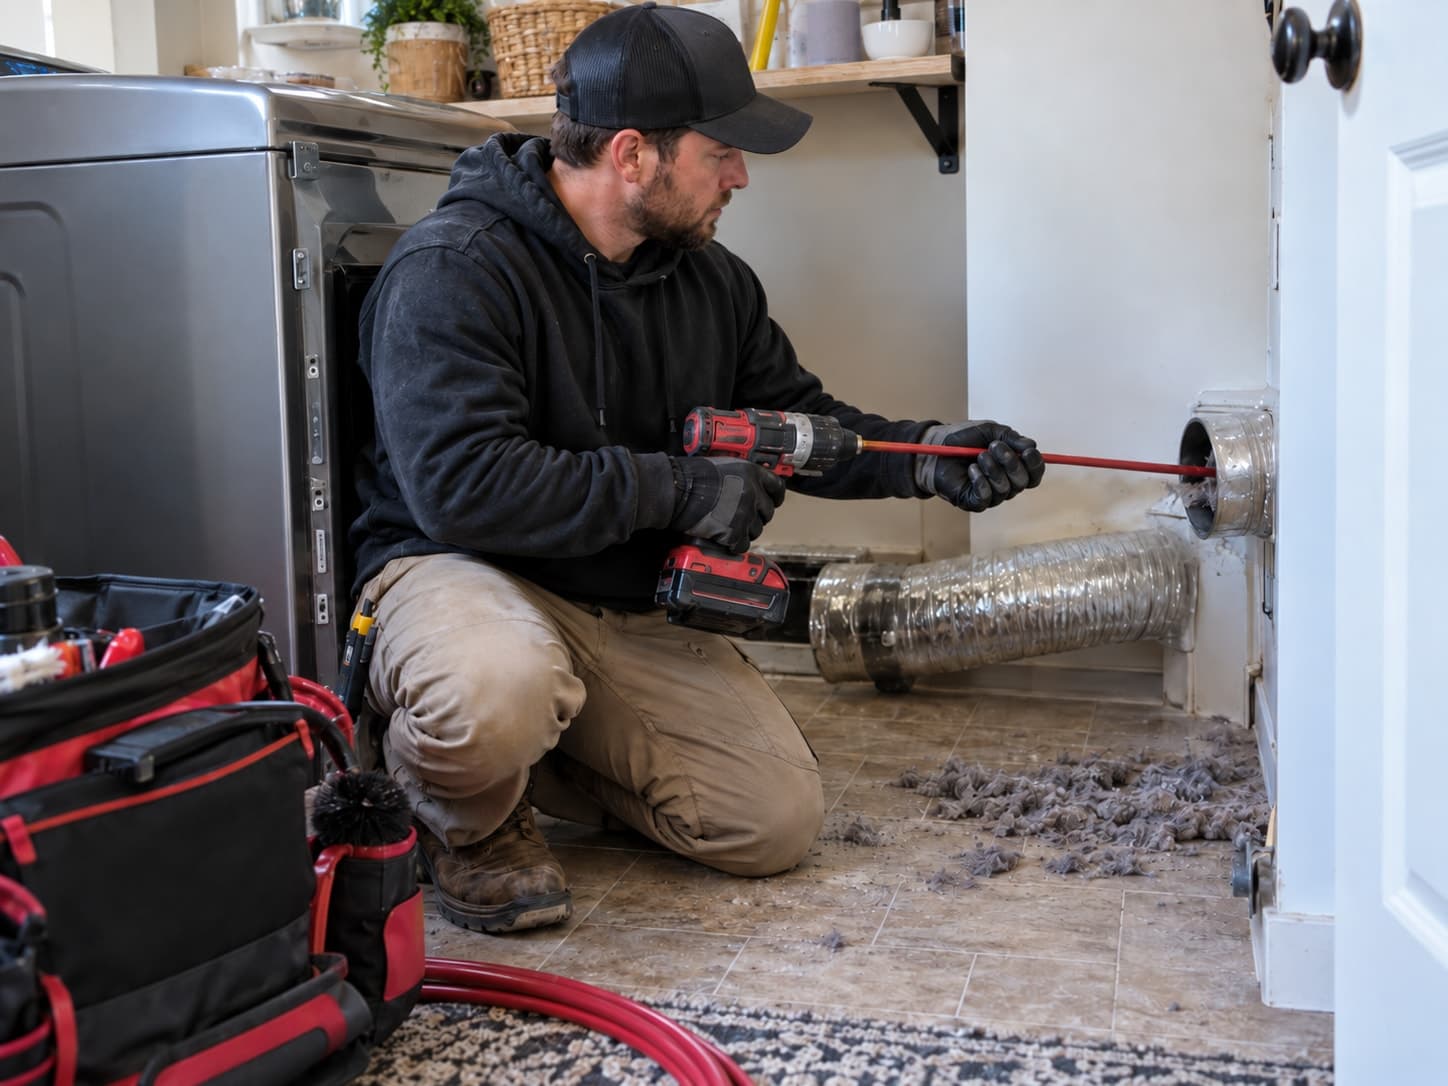
Repeat clogging has several possible causes, and route length is only one of them. The guide to a dryer vent that keeps clogging covers the others, and a dryer vent inspection measures the run and counts the fittings so you know whether a reroute is justified before anything is cut.
How equivalent length works
Florida’s residential code sets a default maximum of 35 feet for a dryer exhaust duct, measured from the connection to the transition duct (the flexible connector behind the dryer) to the outlet. Where fittings are used, that maximum is reduced according to the code’s fitting table (FBC-R 2023, Section M1502.4.5.1 and Table M1502.4.5.1). The table charges each elbow as a length of straight duct, and the tighter the bend, the more it counts:
| Fitting | 45-degree elbow | 90-degree elbow |
|---|---|---|
| 4-inch radius, mitered | 2 ft 6 in | 5 ft |
| 6-inch radius, smooth | 1 ft | 1 ft 9 in |
| 8-inch radius, smooth | 1 ft | 1 ft 7 in |
| 10-inch radius, smooth | 9 in | 1 ft 6 in |
The code gives two alternatives to the 35-foot default. The dryer manufacturer’s installation instructions can set the size and maximum length instead, and in that case the code official is to be given a copy of those instructions for the specific make and model at the concealment inspection. A listed dryer exhaust duct power ventilator is the other route, and its own instructions then set the maximum length. Where the equivalent length exceeds 35 feet, a permanent label or tag stating it must be placed within 6 feet of the exhaust duct connection. The guide to Florida’s dryer vent rules walks through the rest of section M1502.
A worked example
Take a first-floor laundry room on an interior wall. The duct rises inside the wall, crosses the attic and exits through the roof. Measured with a tape, it has 24 feet of straight duct and three 90-degree turns: one at the top of the wall, one to run across the attic, and one to go up through the roof deck.
| Route | Straight duct | Fittings | Equivalent length | Against 35 ft |
|---|---|---|---|---|
| Roof route, tight mitered 90s | 24 ft | 3 × 5 ft = 15 ft | 39 ft | Over by 4 ft |
| Same roof route, 6-inch-radius smooth 90s | 24 ft | 3 × 1 ft 9 in = 5 ft 3 in | 29 ft 3 in | Within the limit |
| Rerouted through the nearest exterior wall | 9 ft | 2 × 1 ft 9 in = 3 ft 6 in | 12 ft 6 in | Well within |
Two lessons come out of this. First, the elbows alone can decide whether a run complies, so swapping tight elbows for long-radius smooth bends is sometimes enough on its own. Second, even a compliant route is not necessarily a good one: at 29 feet the roof run is legal but still has more than twice the equivalent length of the sidewall route, and it has a vertical climb where lint settles. The shorter route clogs more slowly, is easier to clean and gives the dryer an easier job. The figures in this example are illustrative; any real route is measured and calculated on site, and the dryer’s own manual may set a tighter limit than the code default.
Rerouting options, from least to most work
Improve the existing path
Replace tight mitered elbows with smooth long-radius bends, take out unnecessary jogs, and straighten sagging runs. No new penetration is needed.
Shorten the run
Keep the same general route but end it sooner, for example by exiting a gable wall or a closer roof slope rather than running the full length of the attic.
Move the vent from the roof to a wall
Where the laundry room sits on or near an exterior wall, a sidewall termination usually gives the shortest and most accessible route. The old roof penetration is removed and closed.
Relocate as part of a remodel
When the laundry itself is moving, the new dryer location can be chosen with the vent in mind, ideally against an exterior wall with a short, direct exit.
Moving a dryer vent from the roof to a wall
Roof terminations are common in two-story homes and in plans with the laundry in the middle of the house, and they have particular drawbacks: a vertical climb where lint settles, a cap that can only be serviced from the roof, and a roof penetration that has to stay watertight. When roof vent cleaning keeps turning up the same packed cap and the laundry is close to an outside wall, converting to a sidewall vent is often the better long-term answer.
Whether it works depends on what is in the way. A wall route needs a clear path through the framing that avoids plumbing, wiring and structural members, and a spot outside that meets the termination rules. The code requires a termination to follow the dryer maker’s instructions or, where they are silent, to sit at least 3 feet from openings into the building, including ventilated soffits. It also needs a backdraft damper and no screen. The old roof opening has to be removed and closed properly, which is roofing work, and the roof jack area is checked for water damage while it is open.
Laundry relocation and remodels
A remodel is the cheapest time to get the vent right, because walls are open and nothing has to be patched twice. A few points are worth building into the plan:
- Put the dryer on an exterior wall if you can, with the vent exiting close behind it.
- Leave enough depth behind the dryer, or plan a recessed dryer box, so the connector isn’t crushed when the machine is pushed back.
- Where the duct passes through a wall or ceiling cavity, the code requires the cavity to fit the duct without deforming it, and steel shield plates where the duct sits within 1¼ inches of the edge of a framing member, where nails or screws could reach it.
- If the space is set up for a dryer but none is installed yet, the code requires the duct to be installed anyway, capped in the room and marked for future use.
- Keep the transition connector short and visible; a flexible connector may not be concealed inside construction.
Dryer vents under concrete slabs
Some slab-on-grade homes run the dryer duct under the floor to an exterior wall. The Florida code permits this only as an exception: 4-inch Schedule 40 PVC is allowed when it is installed under a slab poured on grade, the trench is completely backfilled with sand or gravel, the pipe extends no more than 1 inch above the indoor floor and no more than 8 inches above grade outside, and the joints are solvent cemented. Otherwise dryer ducts must be metal.
Even when it meets those conditions, an under-slab vent is the hardest kind to live with. It can’t be inspected except by camera, it can’t be repaired without breaking concrete, and it usually includes low points where condensation from hot, humid exhaust can collect and turn lint into a damp paste. The outside end sits just above grade, where mulch, soil, irrigation water and plants can partly cover it. If an under-slab vent keeps restricting, rerouting above the slab, through the wall behind the dryer or up and out, is often more practical than trying to maintain the buried section.
Booster fans instead of rerouting?
When a run can’t be shortened, for example a laundry deep inside a condo or townhome with no nearby exterior wall, a dryer exhaust duct power ventilator is the code-recognized alternative. It must be listed to UL 705 for dryer exhaust and installed to its manufacturer’s instructions, and those instructions then set the allowable duct length. General household booster fans are not permitted in dryer exhaust. A power ventilator adds a motor, a pressure switch and another place for lint to collect, so it needs its own maintenance. The guide to dryer vent booster fans covers how they work and when they make sense.
Another alternative: a condensing dryer
The code exempts listed condensing (ductless) clothes dryers from the requirement for an outdoor exhaust system. Where no reasonable vent route exists, some owners choose one. It is an appliance decision rather than vent work, and condensing dryers have their own maintenance needs and drying characteristics.
Permits and the local building department
A reroute that adds a new opening in the roof or an exterior wall, or runs new duct through walls and ceilings, may need a permit. Requirements differ between cities and counties, so check with the local building department for the address before work starts; whoever does the work should be able to tell you what applies. If the new route relies on the dryer manufacturer’s length allowance, keep the installation instructions for the make and model with your records, since the code expects them to be available to the inspector.
How a reroute is planned
Measure the existing route
The current run is traced, measured and converted to equivalent length, and airflow is tested so there is a baseline to compare with.
Look for a better path
Exterior walls near the laundry, framing direction, attic access, plumbing and wiring are checked to find a shorter route that also meets the termination rules.
Compare the options
Each option is worked out on paper: equivalent length, number of fittings, what has to be opened and patched, and what happens to the old route.
Agree the scope
You see the proposed route and what it involves, including any drywall, stucco, siding or roofing work, before a date is set.
Install, close off and test
The new duct is installed with joints lapped in the direction of airflow and sealed, the old penetration is closed, and airflow is tested on the finished route.
What affects the cost of a reroute
- Length of the new route and the number of fittings
- Whether the path runs through an open attic or finished walls and ceilings
- Exterior finish at the new opening: stucco, block, brick or siding
- Closing and patching the old roof or wall penetration, including roofing work
- Drywall and paint repair inside
- Permit requirements for the address
- Parts such as a recessed dryer box or a listed power ventilator
Because every reroute is different, it is priced after the route is measured.
Reroute, or fit a booster fan?
Both solve the same problem — a run the dryer cannot clear — and they suit different houses.
| Feature | Rerouting | Booster fan |
|---|---|---|
| What it does | Shortens the run or removes bends | Adds push over a run that cannot be shortened |
| Best where | A shorter route genuinely exists | The laundry is landlocked, or the route is fixed |
| Disruption | Opening walls or ceilings along the new route | Access to one point in the duct |
| Ongoing | Nothing extra to maintain | The fan needs cleaning too, or it packs with lint |
| Power | None | Needs a supply at the fan |
| Long-term | Permanent fix | A working fix with a component that can fail |
What it does
- Rerouting
- Shortens the run or removes bends
- Booster fan
- Adds push over a run that cannot be shortened
Best where
- Rerouting
- A shorter route genuinely exists
- Booster fan
- The laundry is landlocked, or the route is fixed
Disruption
- Rerouting
- Opening walls or ceilings along the new route
- Booster fan
- Access to one point in the duct
Ongoing
- Rerouting
- Nothing extra to maintain
- Booster fan
- The fan needs cleaning too, or it packs with lint
Power
- Rerouting
- None
- Booster fan
- Needs a supply at the fan
Long-term
- Rerouting
- Permanent fix
- Booster fan
- A working fix with a component that can fail
Where a fan is the answer, dryer vent booster fans explains how they are sized and controlled. A fan that has stopped is a common cause of a dryer suddenly taking twice as long with no visible blockage.
References (2)
Facts and figures on this page come from these references.