Why lint keeps coming back in the same vent
Lint moves with the air. As long as the exhaust keeps its speed, fine fibers are carried out through the cap. Wherever the air slows, turns sharply, pools or snags on something, the lint drops out and starts a pile, and every pile makes the next one form faster. A healthy vent still needs cleaning, but on a sensible interval. A vent that clogs again a few months after a thorough cleaning usually has one or more of the faults below.
The Florida Building Code sets out most of what a dryer vent should look like (FBC-R 2023, section M1502), and many of the rules exist precisely because the thing they forbid traps lint. Our plain-English summary of the Florida dryer vent code covers them in more depth.
Causes of a vent that keeps clogging
What catches lint, and what fixes it
01Run too long or too many elbows
- What you may notice
- Vent goes up through the roof or across the house; several turns; drying times climb within months of each cleaning.
- How it’s confirmed
- The route is traced and its equivalent length worked out. The code allows 35 feet, reduced for every fitting, unless the dryer maker’s instructions allow more; runs over 35 feet equivalent must carry a label within 6 feet of the connection.
02Flexible foil or vinyl duct
- What you may notice
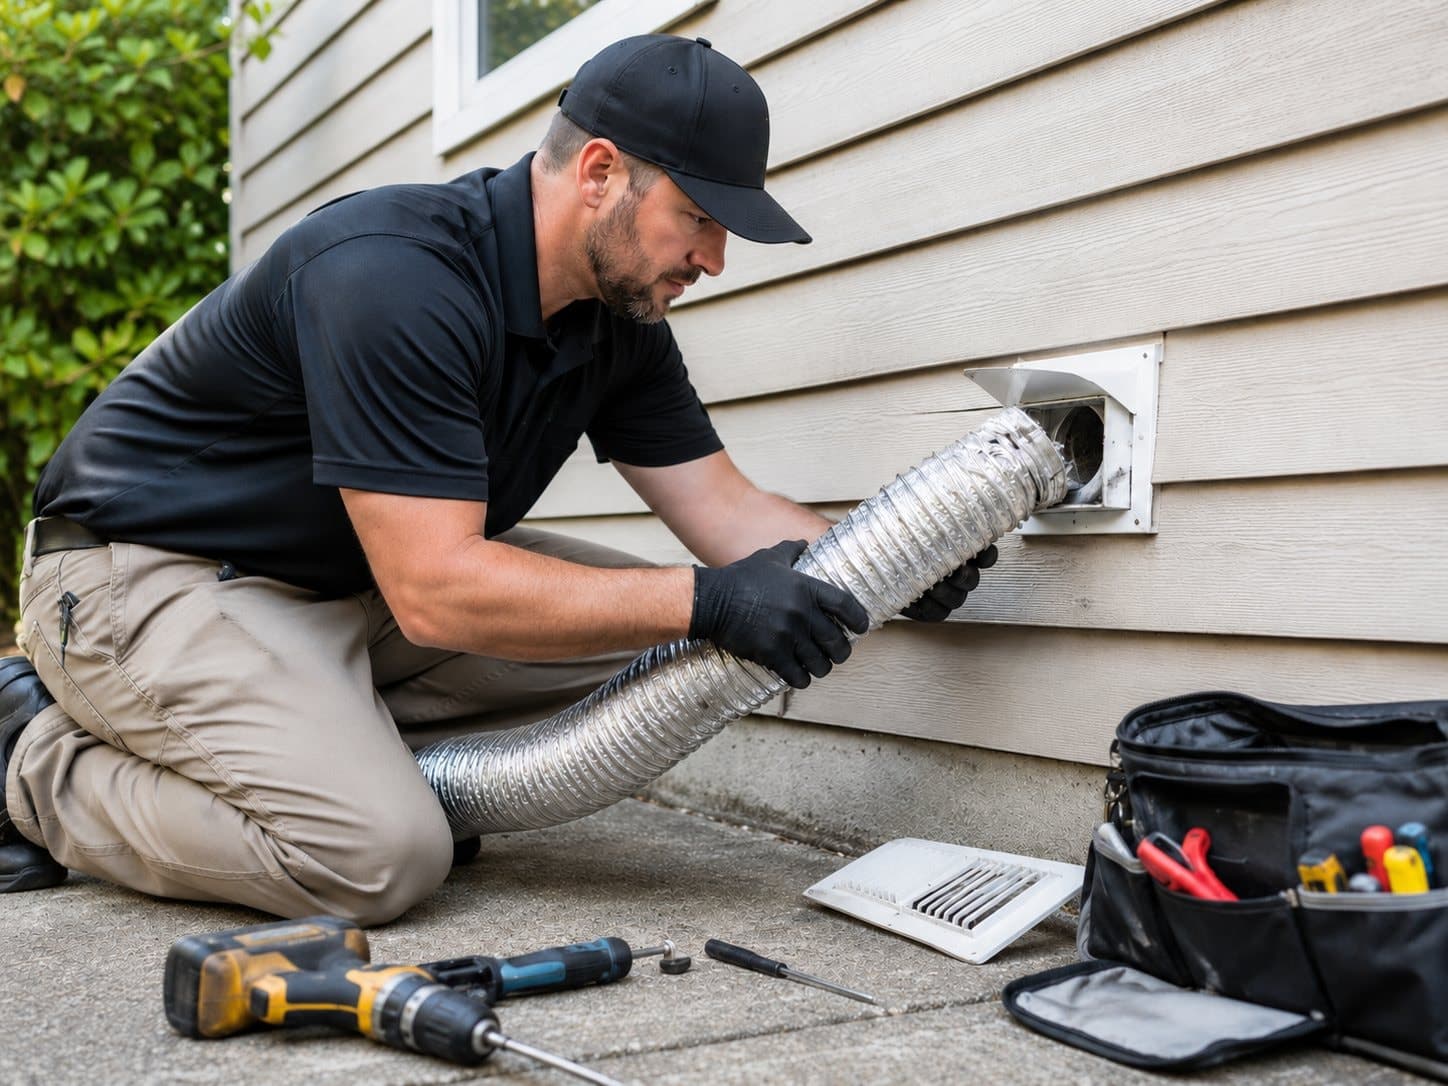
- Ribbed accordion hose behind the dryer, or worse, running through the attic or inside a wall.
- How it’s confirmed
- The duct material is checked along the run. The code calls for smooth-walled metal duct, and a flexible transition duct only if it’s listed to UL 2158A, no more than 8 feet and never concealed.
03Sagging sections and low spots
- What you may notice
- Duct in the attic dips between supports or lies across ceiling joists; wet or pasty lint in one spot.
- How it’s confirmed
- The attic run is looked at for dips and loose hangers. The code requires support at intervals of no more than 12 feet.
04Screws through the joints
- What you may notice
- Lint clumps found at the same joints at every cleaning; screw heads visible on the outside of the duct.
- How it’s confirmed
- Joints are checked for screws or rivets that reach into the airstream. The code does not allow ducts to be joined with screws or similar fasteners.
05A cap that chokes the exhaust
- What you may notice
- Lint caked on a mesh, grille or louvers; flap stiff or painted shut; a small cap that looks meant for a bath fan.
- How it’s confirmed
- The termination is checked for a working backdraft damper, no screen, and a clear opening. The code prohibits screens and requires an undiminished passage of at least 12.5 square inches.
06Crushed transition hose
- What you may notice
- Dryer pushed tight to the wall; hose folded or flattened behind it; problem returns every time the dryer goes back into place.
- How it’s confirmed
- The hose is inspected in the dryer’s final position; a recessed dryer box or a low-profile metal connector often solves it.
07Birds or other nesting animals
- What you may notice
- Twigs, grass or feathers at the cap; chirping near the vent in spring; a flap that no longer closes.
- How it’s confirmed
- The nest and lint are removed from the termination and the damper is checked or replaced. The USFA lists nests of small birds or animals as a cause of blocked dryer exhaust.
08A damaged or bypassed lint screen
- What you may notice
- Torn mesh, a bent frame, a screen that doesn’t seat fully, or loads run with the screen out.
- How it’s confirmed
- You can check this yourself. The USFA advises never running a dryer without a lint filter or with one that is loose or damaged.
09Moisture making lint stick
- What you may notice
- Lint inside the duct is damp, matted or pasty rather than fluffy; water or rust near low points.
- How it’s confirmed
- The run is checked for length, bends and dips. The USFA notes that in vents that are too long or have many bends, moisture condenses on the duct walls and attracts lint.
10Overloading and heavy-lint loads
- What you may notice
- Big loads of towels, bedding or pet-hair-covered items; the screen is full after every cycle.
- How it’s confirmed
- Something you control: smaller loads and cleaning the screen before and after each cycle.
Dryer vent system, from dryer to termination
- 1Lint screen. Catches most lint inside the dryer. What gets past it collects in the duct.
- 2Transition duct. Short connector from the dryer to the wall. Easily crushed behind the machine.
- 3Duct run. Smooth 4-inch metal duct through walls, floors or the attic.
- 4Elbows. Every bend adds resistance and counts against the allowed duct length.
- 5Roof cap. Roof termination, common on two-story homes. Hard to see and to clean.
- 6Wall hood. Side-wall termination. Must open freely and has no screen.
- 7Backdraft damper. Flap that opens under airflow and closes to keep out air, rain and pests.
Florida humidity: a maybe, not a cause
It’s tempting to blame the climate. Humid air could plausibly make condensation in the duct more likely and help lint stick, but we haven’t found a study showing that Florida humidity by itself makes vents clog faster, so treat it as a possible contributor rather than an explanation. The faults above are the ones you can see, measure and fix. If a vent clogs quickly, look at its length, material and cap before looking at the weather.
Another cleaning, or a fix?
| Cause | Does cleaning solve it? | Lasting fix |
|---|---|---|
| Normal lint over a year of use | Yes | Regular vent cleaning on an interval that suits the household |
| Long run or many elbows | Only for a while | Fewer, smoother bends, a shorter route, or a new termination |
| Foil or vinyl duct | No, the ribs catch lint again | Smooth metal duct and a listed transition connector |
| Sags and screws | No | Resupport the run, remake joints without screws |
| Screened or undersized cap | Briefly | A damper cap with no screen and a full-size opening |
| Crushed hose | No | Recessed box or low-profile connector |
| Nests | Yes, until the next nest | Remove the nest, then fit a damper that closes |
When the root cause is the route itself, rerouting the dryer vent to a shorter, straighter path is usually the change that ends the cycle of repeat cleanings. For a roof termination that fills up between visits, see cleaning a vent that exits through the roof. Stuck flaps, screens and nest-damaged caps are handled with a replacement vent cover.
What about a booster fan?
Florida’s code allows a dryer exhaust duct power ventilator only if it is listed to UL 705 for dryer exhaust and installed to its maker’s instructions. It can help a run that genuinely can’t be shortened, but it doesn’t fix foil duct, sags or a screened cap, and it adds a part to maintain. Our guide to dryer vent booster fans covers when one makes sense.
Checks you can do between cleanings
Safe things to look at yourself
- Write down when the vent was last cleaned, so you know how fast it’s filling
- Pull the lint screen and check the mesh for tears and the frame for a snug fit
- Look behind the dryer: is the hose ribbed foil or vinyl, and is it flattened?
- Look for a label on the wall near the dryer connection stating the duct’s equivalent length
- Outside, with the dryer running on no heat, watch whether the flap opens fully
- Check the hood for mesh, a grille, lint build-up or nesting material
- From the attic hatch only, use a flashlight to look for foil duct, dips or loose sections
- If the vent is on the roof, look from the ground for lint around the cap; don’t climb up
Don’t add a screen or “pest guard” to keep birds out, and don’t tape or screw loose joints together. Both create the next clog.
Red flags
- A burning or scorched smell while the dryer runs: stop using it and read what a burning smell from the dryer means.
- Lint in the attic insulation or around the laundry ceiling: a joint has likely come apart and exhaust is going indoors.
- Water, rust or pasty lint in the duct: a low spot or condensation problem, covered under water in the dryer vent.
- A “check vent” warning that returns within weeks of a cleaning.
- Weak or no air at the outside hood even after cleaning.
What a professional diagnosis involves
Map the run
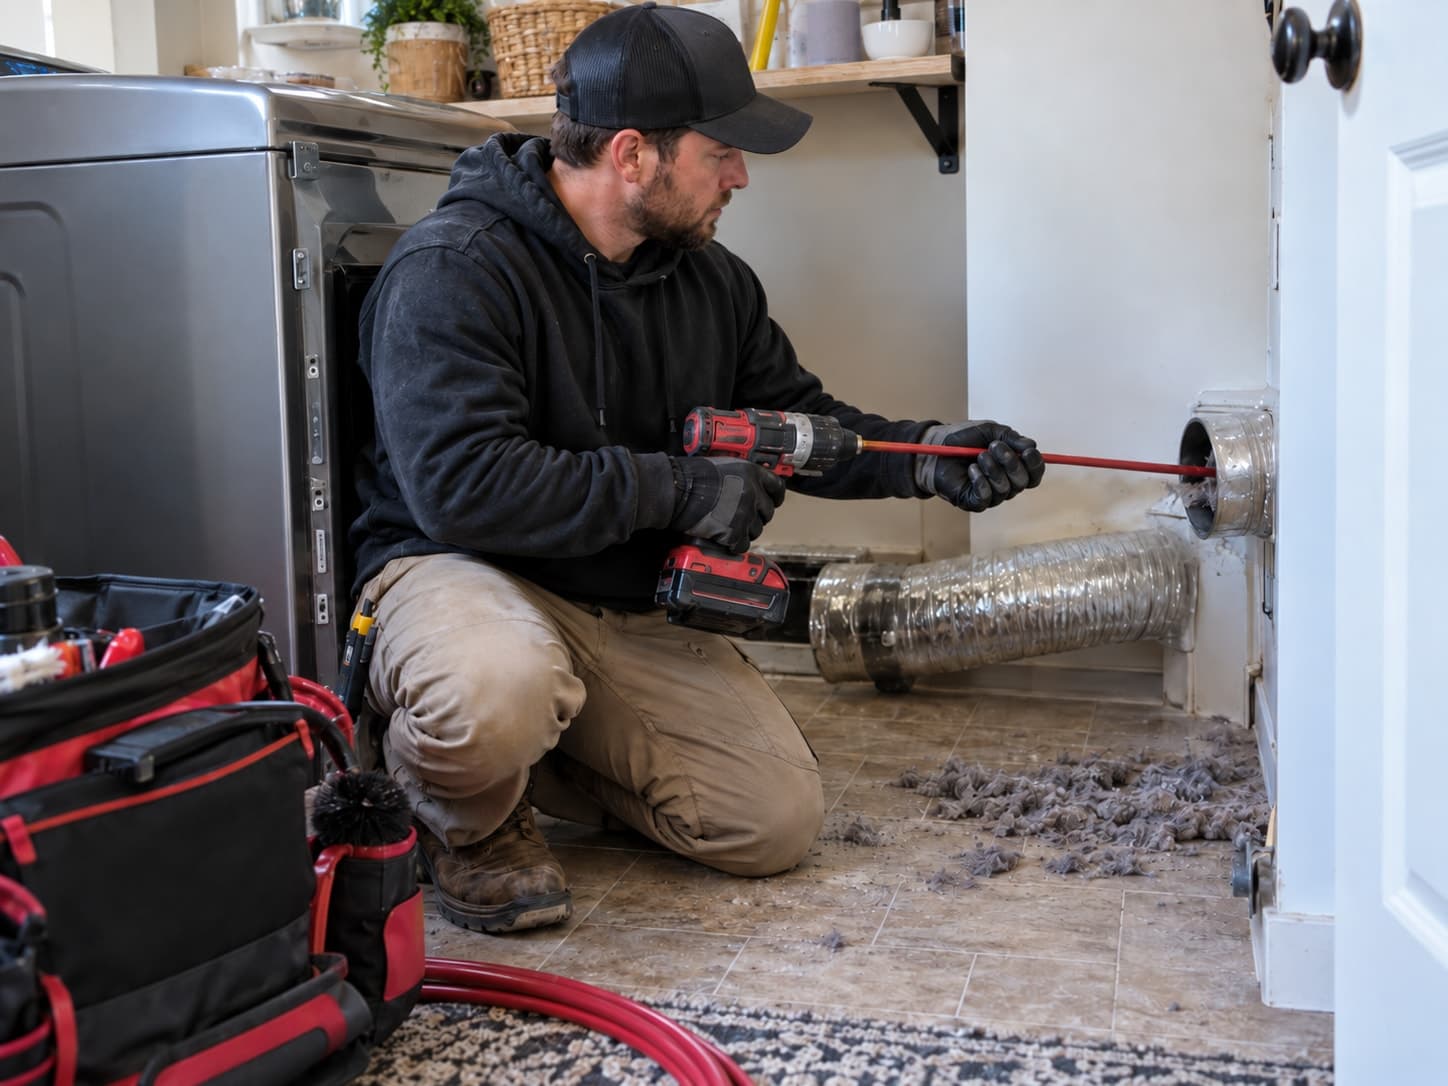
The route is traced from the dryer to the termination: length, number and type of elbows, duct material, where it crosses the attic or walls, and where it exits.
Measure before cleaning
Airflow is read at the termination with the dryer on no heat, so there is a baseline to compare against.
Find where the lint collects
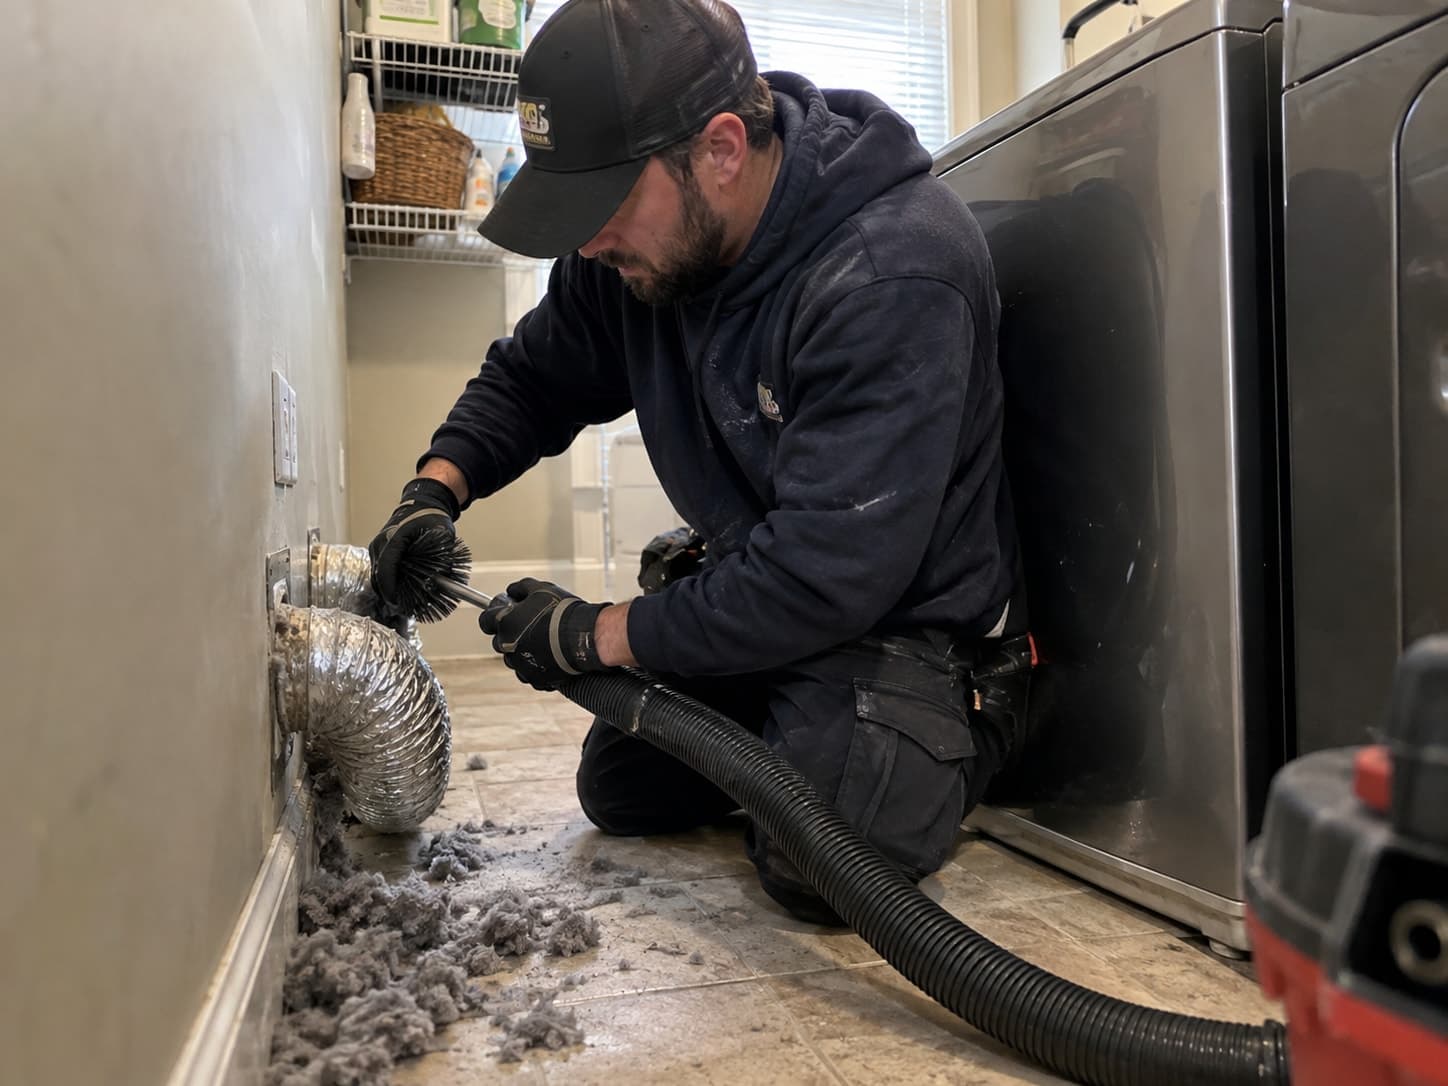
While the duct is cleaned, the places where lint has piled up show where the air slows: a particular elbow, a dip, a joint, or the cap.
Measure again
If airflow recovers strongly, lint was the restriction and a cleaning interval can be set. If it stays weak, the run itself is the limit.
Recommend the fix that removes the cause
That might be a new cap, a section of smooth duct, better supports, or a new route.
Fixes that outlast another cleaning
| Why it refills | Where it’s fixed |
|---|---|
| Run too long or too many elbows | dryer vent rerouting |
| Screened or wrong exterior cap | vent cover replacement |
| Crushed, sagging or screwed joints | dryer duct repair |
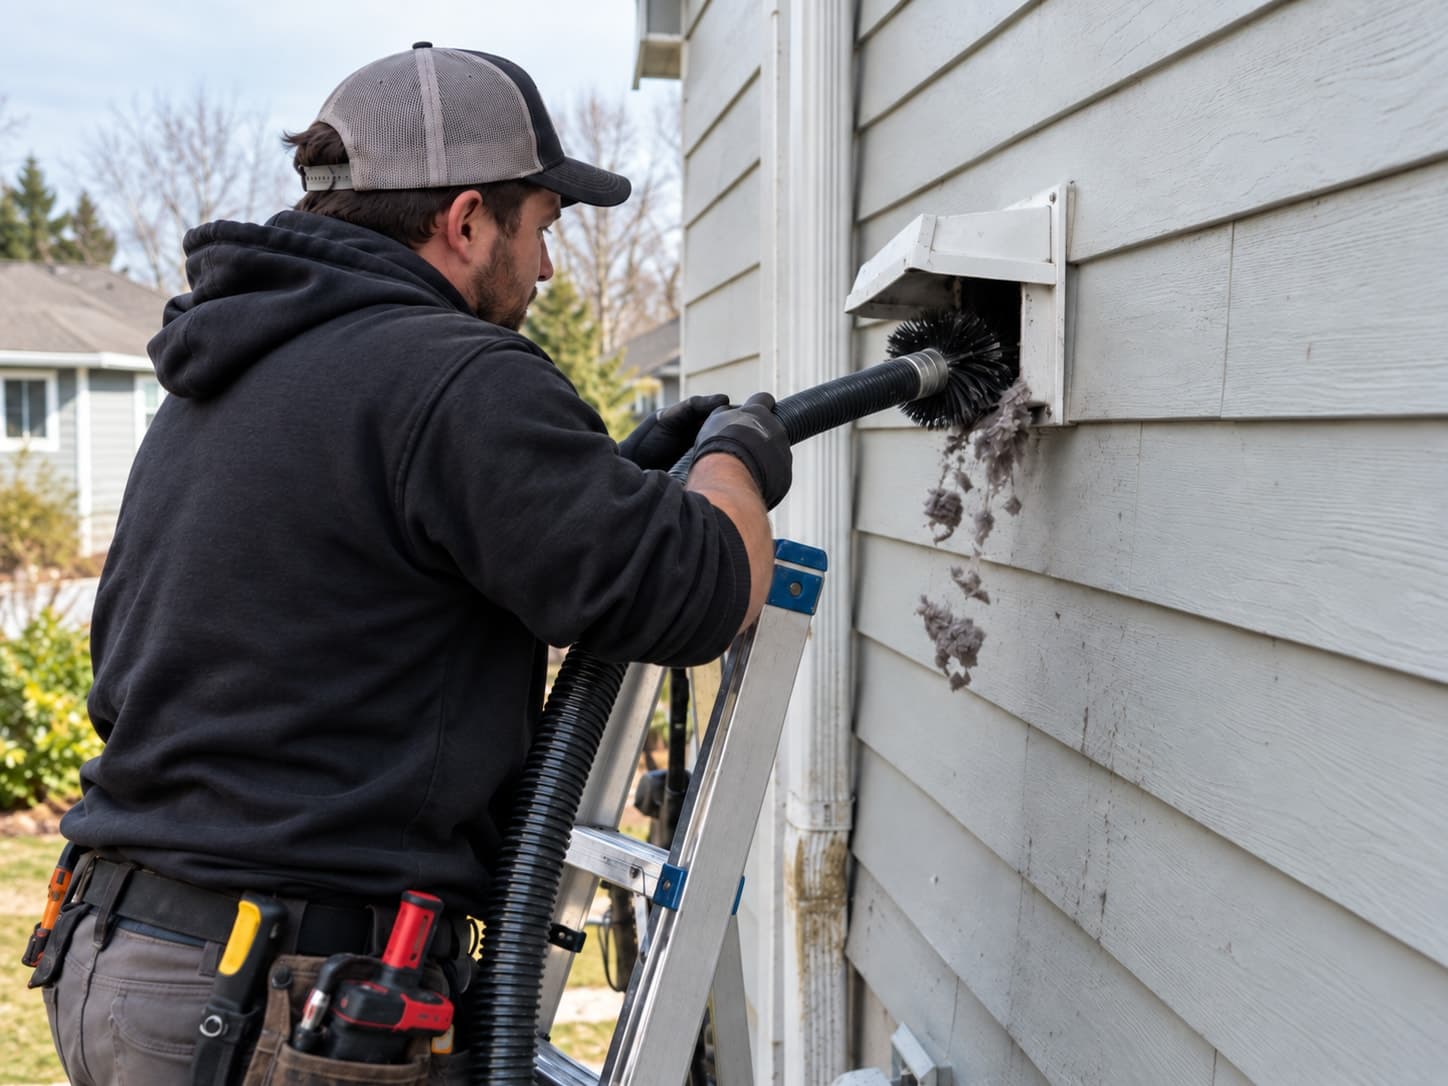
| Roof cap that traps lint | roof-terminated vent cleaning and a proper dryer cap |
Cleaning is still the first step, because it shows what’s left once the lint is out: what a full dryer vent cleaning covers. The 35-foot rule is explained in Florida’s dryer vent code. Local: dryer vents in Lake Mary.
References (2)
Facts and figures on this page come from these references.