Why Orlando chimneys take on water
Water intrusion is one of the most important chimney problems for Central Florida homes. Orlando averages about 51.5 inches of rain a year, and the National Weather Service in Melbourne puts the median start of the rainy season in late May, with June through September the wettest months. That is four months of frequent afternoon thunderstorms hitting the one part of the house that sticks up through the roof.
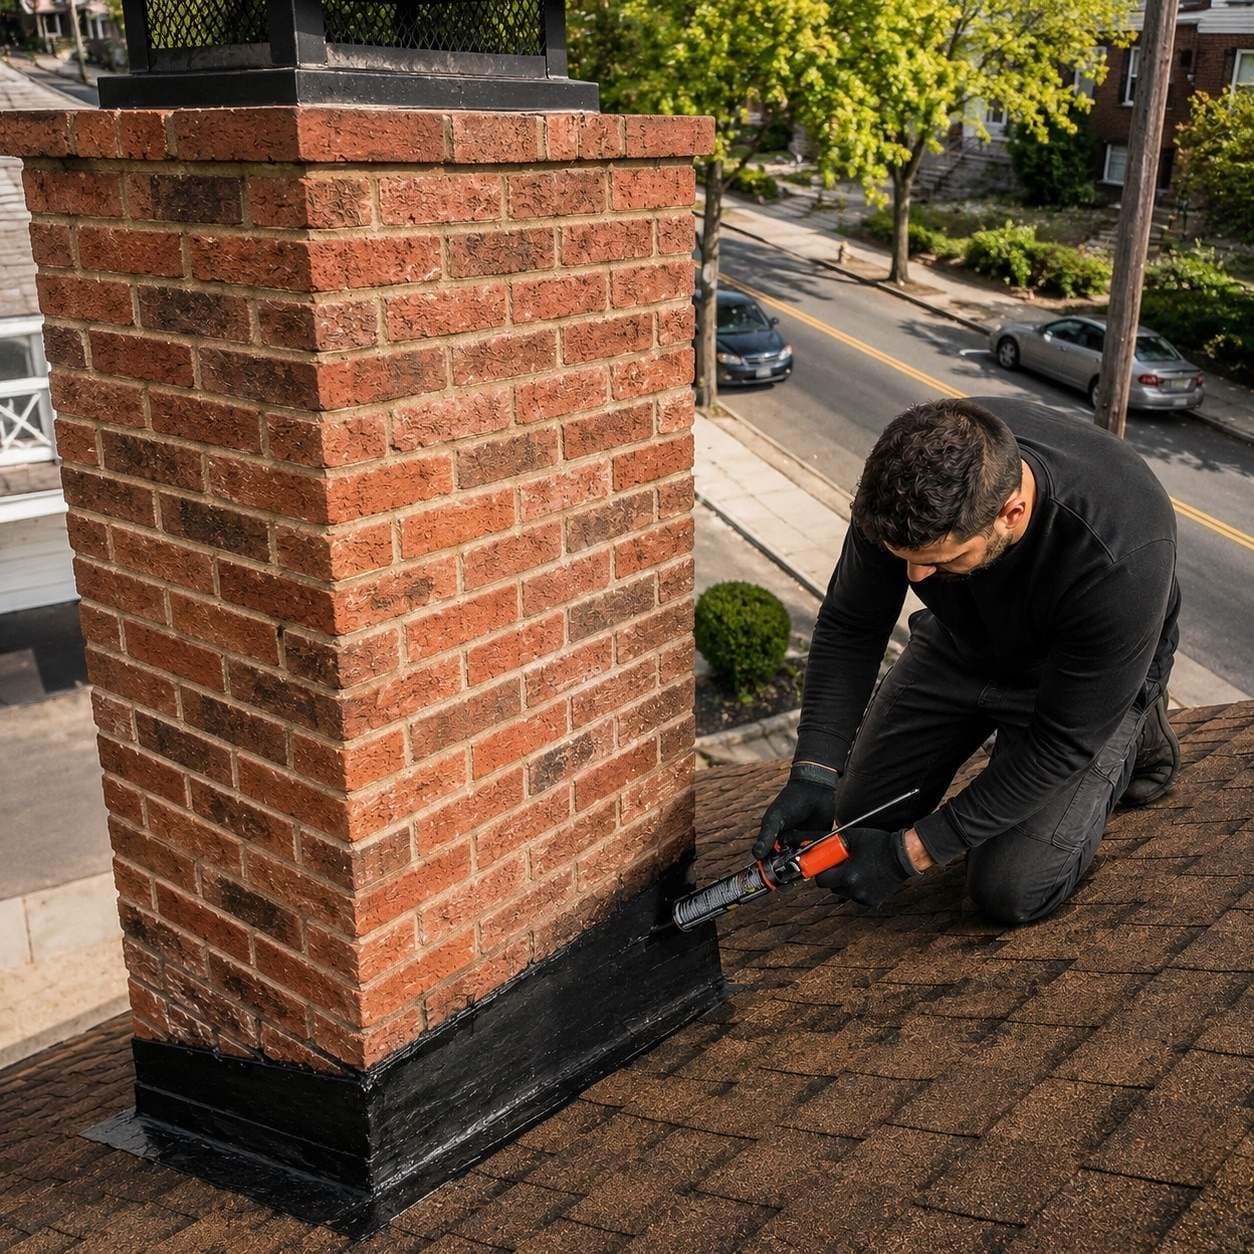
Tropical systems add heavier tests. Orlando International recorded 22.42 inches of rain during Hurricane Ian in 2022, according to Spectrum News 13, and Hurricane Milton brought an 86 mph gust to Orlando in 2024 (ClickOrlando). Rain driven sideways at those speeds finds gaps that ordinary storms never reach.
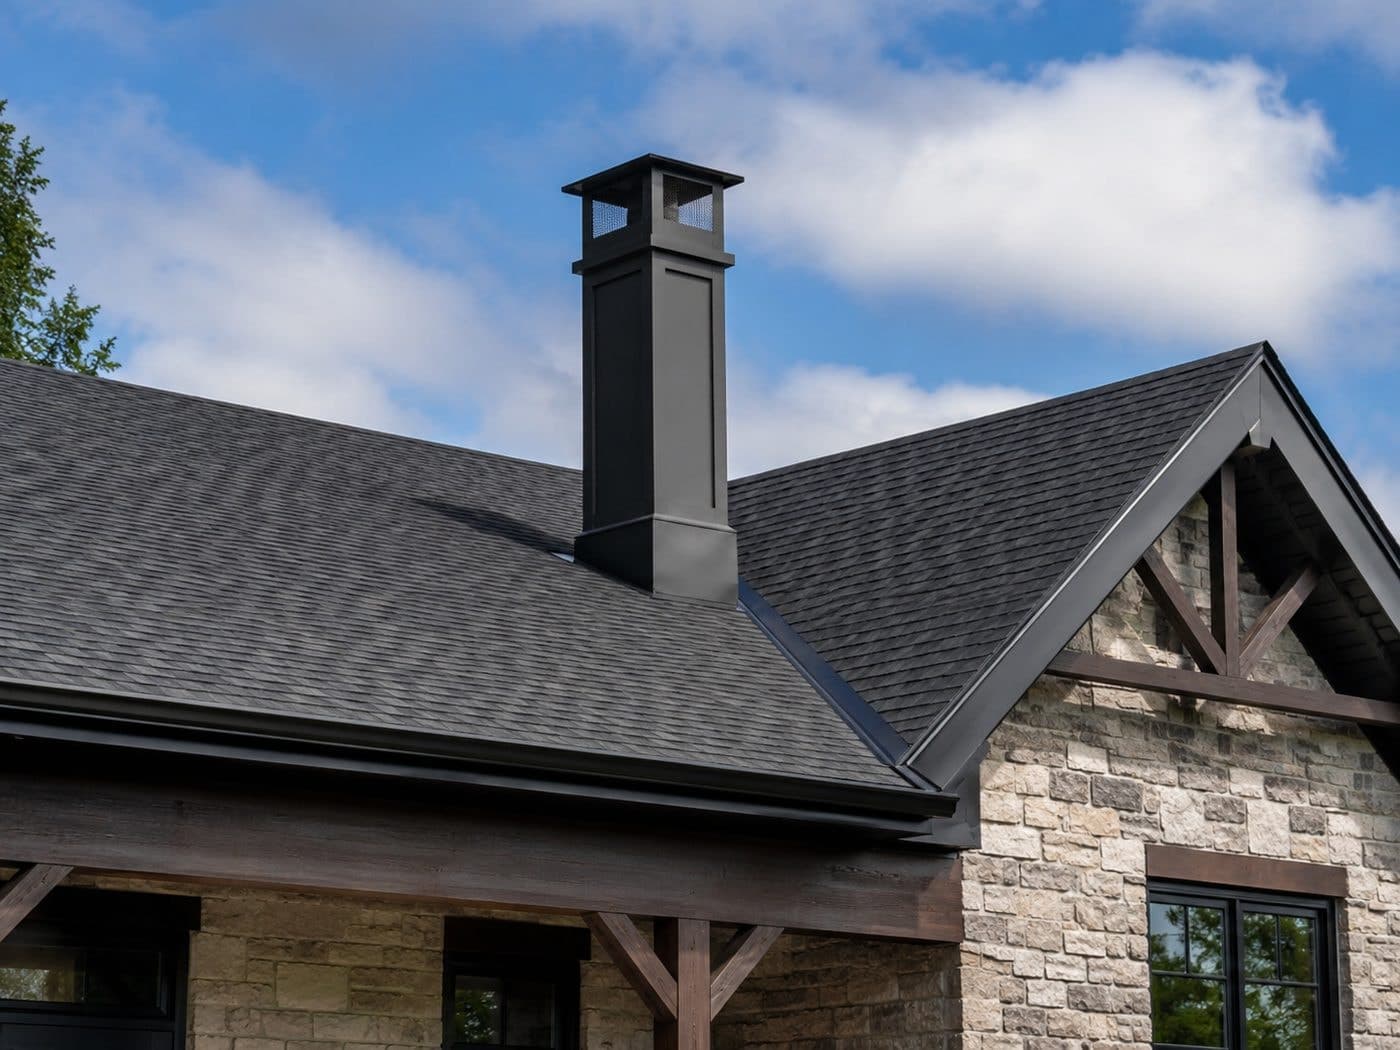
Factory-built fireplaces and framed chimney chases are common in many newer Orlando-area homes. If the part above your roof is covered in siding or stucco with a flat metal lid on top, and your firebox has metal panels or a louvered grille rather than solid brick, you likely have one. The leak points on that kind of chimney differ from those on a brick one, which is why the list below covers both.
Possible causes, most likely first
This order reflects what tends to fail first on Central Florida homes, not a hard rule. Two causes often work together, for example a rusted chase cover plus a failed storm collar underneath it.
Where chimney water usually comes from
01Chase cover (framed chimneys)
- What you may notice
- Rust streaks running down the siding from the top, rust or drips in the firebox, water after every decent rain. Flat or sagging covers hold standing water.
- How it’s confirmed
- Roof access to look for rust-through, pooling, open seams and loose fasteners, and to check that the cover sheds water past the siding.
02Chimney cap missing or damaged
- What you may notice
- Water or debris in the firebox during straight-down rain, a damper that is rusting shut, nesting material or animal sounds.
- How it’s confirmed
- Visual check from the roof that a cap is present, secured and covering the whole flue opening.
03Flashing at the roofline
- What you may notice
- Stains on the ceiling or wall right beside the chimney rather than inside the firebox. Often worse after a reroof.
- How it’s confirmed
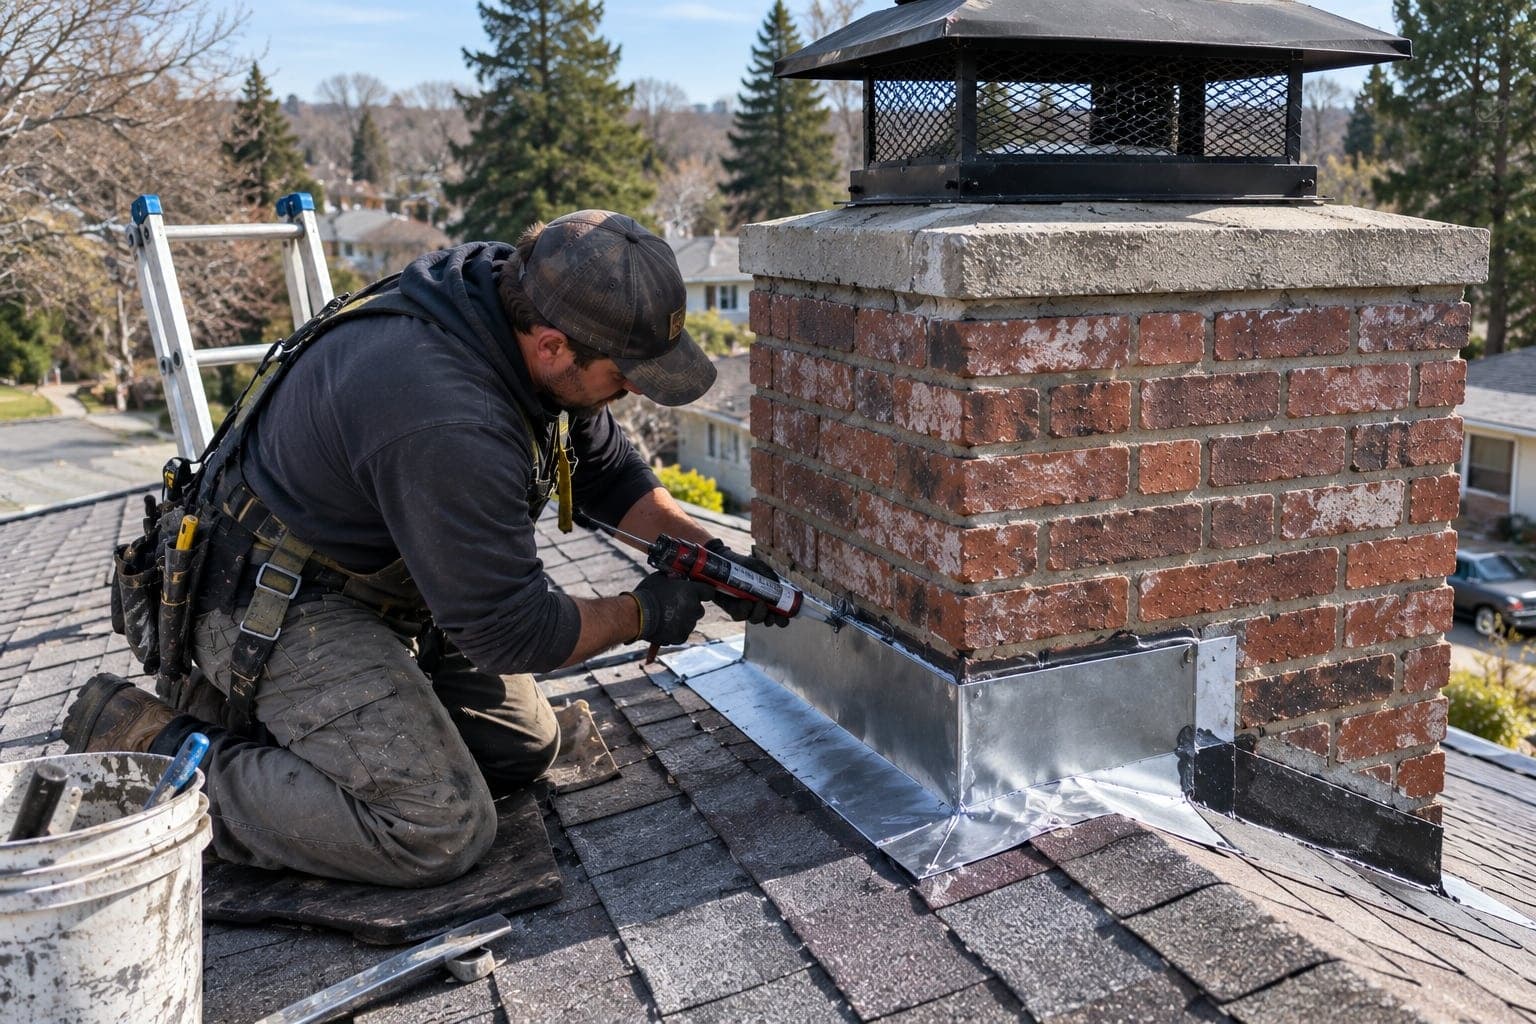
- Inspection of step and counter flashing, sealant joints and the uphill side of the chimney where water piles up.
04Masonry crown (brick chimneys)
- What you may notice
- Damp or stained brick near the top, flaking brick faces, water tracking down the inside of the flue.
- How it’s confirmed
- Close look at the crown for cracks, a flat or back-sloped surface and gaps around the flue liner.
05Brick and mortar soaking up water
- What you may notice
- White powdery deposits (efflorescence) on brick inside or outside, a musty firebox, damp patches that appear a day after rain.
- How it’s confirmed
- Mortar joint condition, brick spalling and, where appropriate, a water test on a section of the chimney.
06Chase siding, trim and stucco
- What you may notice
- Soft or swollen siding, peeling paint, cracks in stucco, stains lower down the wall inside rather than at the fireplace.
- How it’s confirmed
- Probing trim and siding for rot, checking caulk joints and where the chase meets the roof.
07Storm collar on a metal flue
- What you may notice
- Drips down the outside of the metal flue pipe, visible only once the fireplace grille or an access panel is opened.
- How it’s confirmed
- Lifting or looking under the chase cover to see whether the collar is seated and sealed where the flue passes through.
08Condensation
- What you may notice
- Damp or dripping in the firebox on humid days with no rain, often in homes kept cool by the AC.
- How it’s confirmed
- Ruling out rain entry first, then looking at damper sealing and air movement through the flue.
09Wind-driven rain
- What you may notice
- Leaks only in storms with strong wind from one direction, never in ordinary rain.
- How it’s confirmed
- Matching the leak to storm direction, then checking cap design, siding gaps and flashing on the windward side.
Clues you can gather safely
You don’t need to go on the roof to help narrow this down. A few notes and photos from inside and from the ground make a leak visit shorter and the diagnosis more accurate.
What to note before anyone climbs a ladder
- When it leaks: every rain, only in long soaking rain, or only in windy storms from one direction.
- How soon: water during the storm usually means an open path; stains that appear a day later suggest water soaking through brick or framing.
- Where it shows: inside the firebox, on the ceiling beside the chimney, down the wall, or around the damper handle.
- Rust: orange flakes or streaks on the damper, grate or firebox floor point toward the top of the chimney.
- From the ground: rust streaks on the chase siding, a missing cap, or loose metal at the roofline (binoculars help).
- Photos with dates, including the weather that day, so the pattern is easy to match.
Put a towel or tray in the firebox to catch drips and keep the damper closed if it still closes. Don’t caulk over rust or stuff the flue with insulation; that hides the evidence and can trap water inside the framing.
Red flags: stop using the fireplace
Hold off on fires until it’s checked
Don’t use the fireplace if you see rust holes in the firebox or flue, cracked or crumbling firebox panels, a damper rusted solid, soft or sagging drywall near the chimney, or a musty smell that keeps getting worse. Water weakens refractory panels and metal flue parts, and wet framing around a factory-built fireplace can rot out of sight.
- Water that reaches electrical outlets or light fixtures near the chimney: turn off that circuit at the panel and call an electrician.
- Leaks that start right after a hurricane or tropical storm: treat the chimney as storm-damaged until someone has looked at the cap, cover and flashing.
- Visible mold on the wall or ceiling beside the chimney: FEMA’s assessment after Hurricane Ian linked water intrusion through damaged roof and wall components to wet insulation and mold (FEMA).
What a professional leak diagnosis involves
Talk through the pattern
We start with your notes: when it leaks, where, and since when. That usually rules half the list in or out before we touch anything.
Inside look
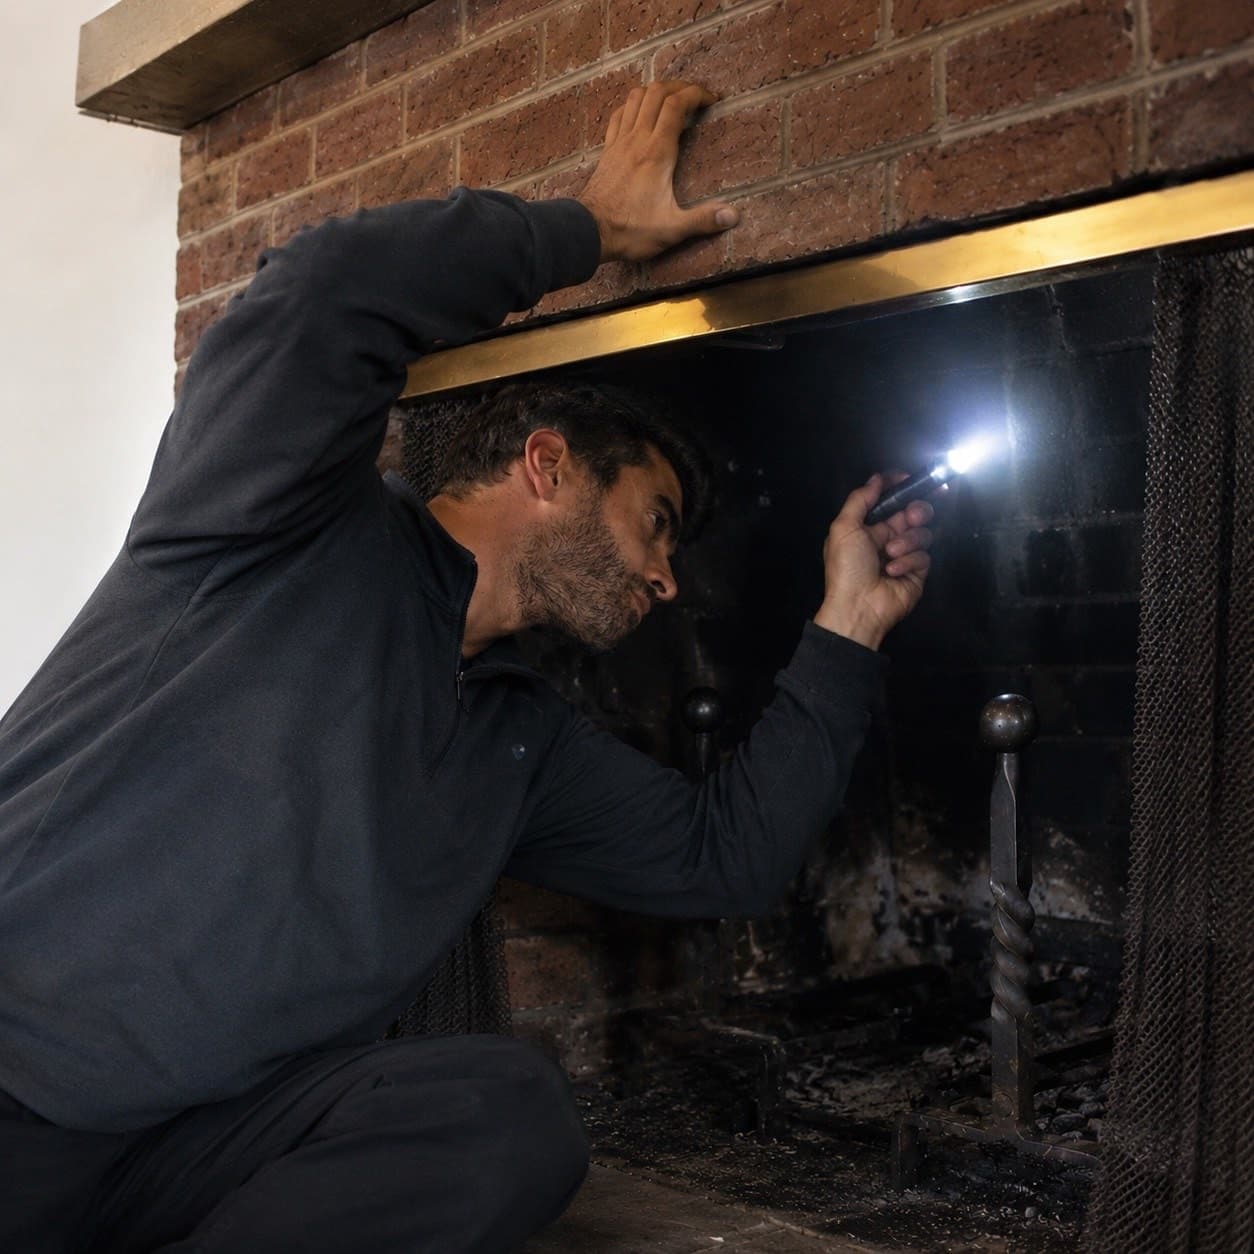
Firebox, damper and flue are checked with a light, looking for rust trails, water lines and stained panels that show where water lands.
Roof and exterior
Cap, chase cover or crown, storm collar, flashing, siding and sealant joints are inspected from the roof, where access is safe.
Water test when it’s unclear
If the source still isn’t obvious, we wet one section at a time from the bottom up while someone watches inside, so the leak is tied to a specific component.
Findings and options
The confirmed source and the repair options for it are explained before any repair is scheduled.
Repairs follow the source: a new cover, cap, flashing, crown or siding section. For the full repair process, see our page on chimney leak repair. If you want the difference between the two metal parts explained, read chimney cap vs chase cover.
Which repair fixes which leak
| Where the water is getting in | Where it’s fixed |
|---|---|
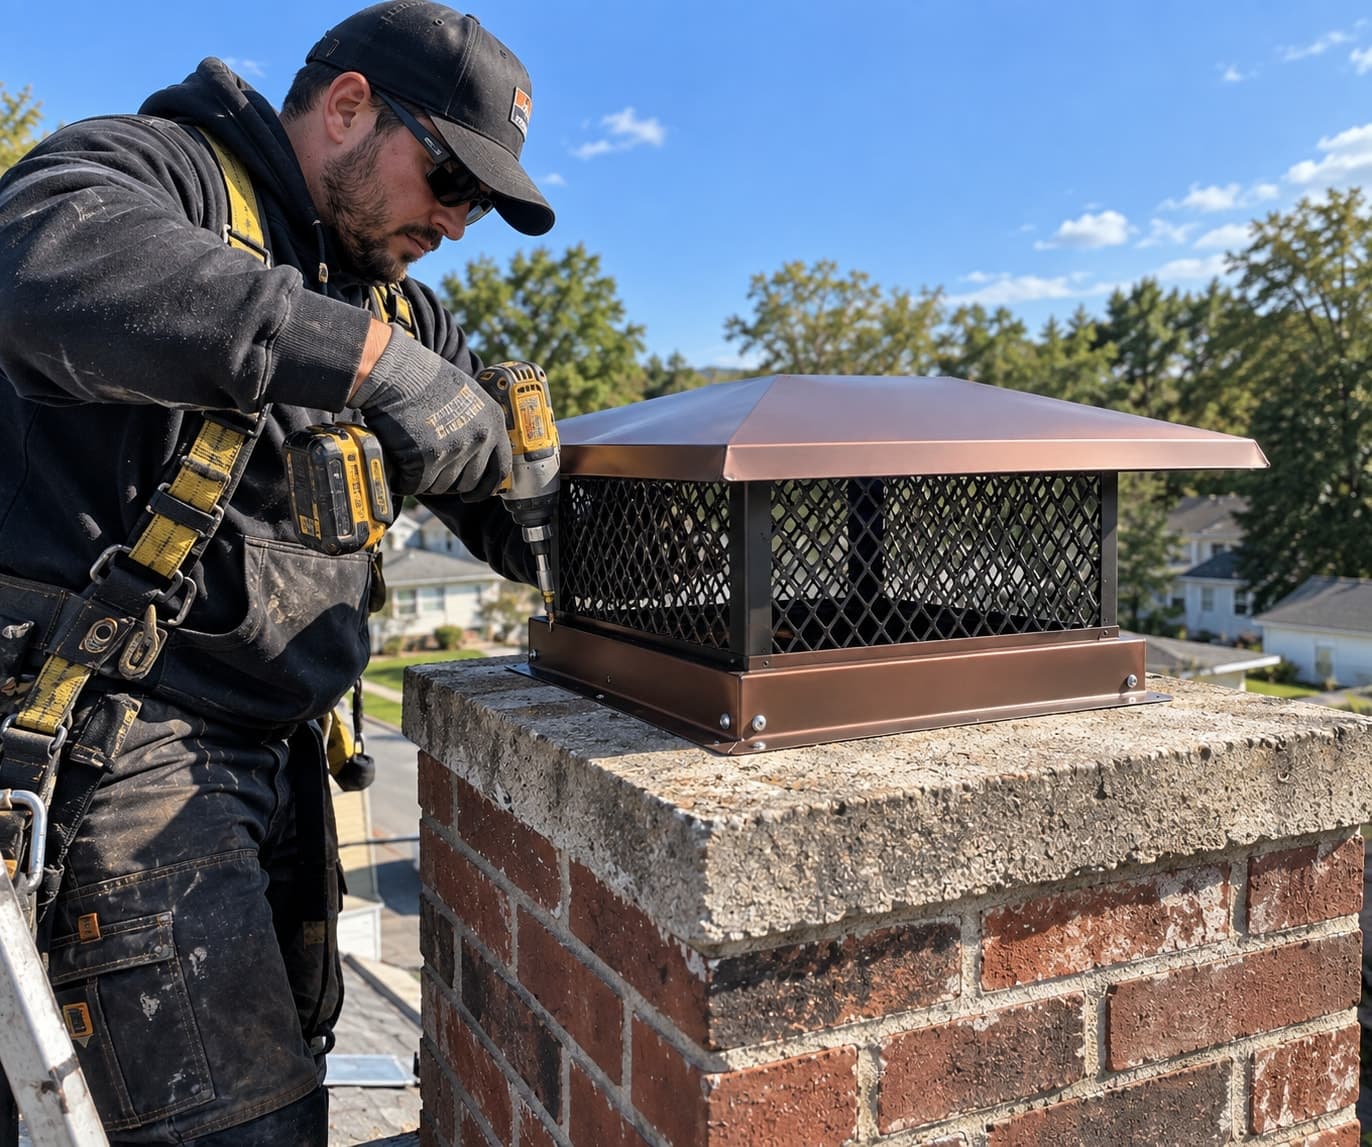
| Open flue with no cap, or a damaged cap | a new or replacement chimney cap |
| Cracked crown or open joints at the top | crown repair or rebuild |
| Flashing at the roof line | flashing repair |
| Rusted or flat chase cover on a framed chimney | a sloped chase cover |
| Water soaking through brick | masonry repair, then a breathable water repellent |
Most leaks have more than one entry point, so the source is traced before anything is sealed; how a chimney leak is diagnosed and fixed covers the visit. For a local visit, see leak diagnosis for City of Orlando homes or Winter Park chimney leak help. Why storms make it worse is explained in why Florida chimneys leak in storms. If the water shows up as a ring on the ceiling rather than in the firebox, see stains on the ceiling beside the chimney.
References (5)
Facts and figures on this page come from these references.