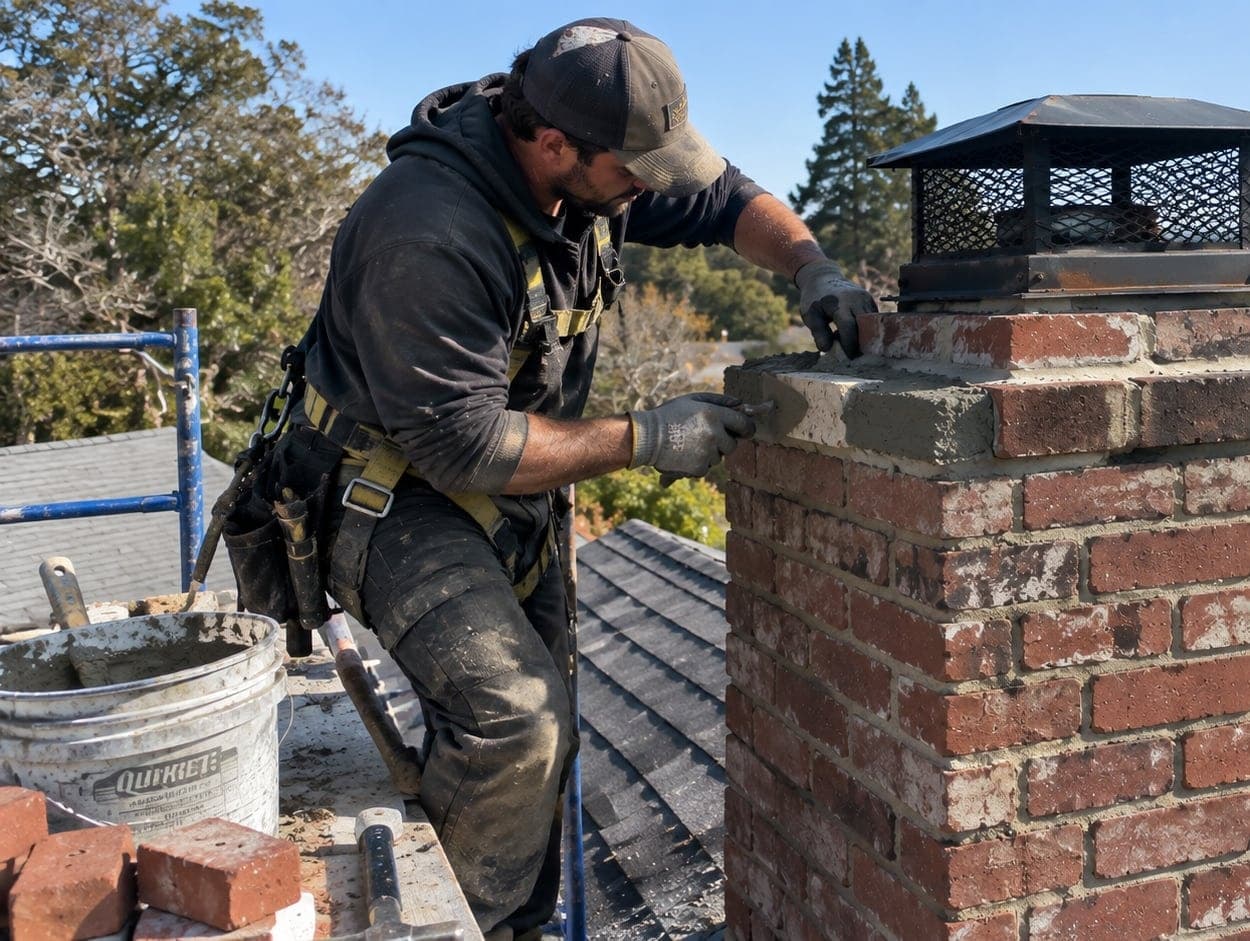
Short version: on a Winter Park chimney that’s 50 to 100 years old, stop the water at the top first, confirm the flue is sound second, and treat mortar and brick as a matching exercise rather than a patch. If the house is a designated historic property, find out whether the work needs a Certificate of Review before anyone orders materials. Census estimates put 39.4% of the city’s homes before 1970 and 56.2% before 1980 (Census ACS via Census Reporter), which is why these questions come up so often here.
What to repair first on an older chimney
An old chimney rarely has just one problem. The trick is sequencing: money spent repointing the middle of the stack is wasted if the crown above it keeps sending water into the joints. This is the order that usually protects the most masonry for the least disruption.
| Priority | Component | Why it goes in this slot on an older chimney | Where to read more |
|---|---|---|---|
| 1 | Crown and cap | Original crowns from this era were often thin mortar washes with no overhang. Every other repair depends on the top shedding water. | Chimney crown repair; chimney caps |
| 2 | Flashing | A chimney this age has been re-flashed at each reroof, sometimes by sealing over the last job. Leaks at the roof line rot the framing next to the chimney. | Chimney flashing repair |
| 3 | Flue liner | Clay tile from the 1940s–1970s can crack or open at the joints without any outside sign. It decides whether the fireplace can be used. | Chimney liner repair |
| 4 | Top courses of brick | The courses above the roof take the most weather. Loose brick here is a falling hazard and may mean a partial rebuild. | Chimney masonry repair; chimney rebuild |
| 5 | Mortar joints lower down | Once water is stopped at the top, joint erosion further down slows. Repoint only the joints that need it. | Chimney masonry repair |
| 6 | Water repellent | Only after the masonry is sound, and only a vapor-permeable product. Sealing a wet, cracked chimney traps water in the brick. | Chimney waterproofing |
The first two items are covered in detail on the crown repair and roof-line flashing repair pages. A clay liner’s joints can’t be judged from the firebox alone, and liner repair and relining explains the options when tiles are cracked or missing.
Mortar that suits the house, not whatever’s in the truck
The National Park Service’s guidance on repointing historic masonry sets a simple rule: new mortar should be softer and more vapor-permeable than the brick, and no harder than the original mortar (NPS Preservation Brief 2). If the joint is harder than the brick, the brick becomes the weak point, and it cracks or sheds its face instead of the joint taking the movement.
Winter Park’s housing spans a period when mortar itself changed. The same brief notes that mortars used between 1873 and 1930 range from pure lime and sand to many lime-cement blends, and that by the 1930s most masons used equal parts portland cement and lime. So a 1920s house near the lakes and a 1960s ranch a mile away probably need different mixes. That’s an inference from build dates; the joints themselves are the real evidence.
| Feature | Chimney from the 1920s–1930s | Chimney from the 1950s–1970s |
|---|---|---|
| Likely original mortar | Lime-rich, soft and porous | Portland-lime blend, harder |
| Main risk from the wrong repair | Hard cement mortar cracking or spalling softer, older brick | A mismatched color and joint profile that shows from the street |
| How the mix is chosen | Match the historic mortar; a mortar analysis helps on spot repairs | Match strength and appearance of the existing joints |
| Historic review more likely? | Yes, if the house is designated | Less often, but check |
Likely original mortar
- Chimney from the 1920s–1930s
- Lime-rich, soft and porous
- Chimney from the 1950s–1970s
- Portland-lime blend, harder
Main risk from the wrong repair
- Chimney from the 1920s–1930s
- Hard cement mortar cracking or spalling softer, older brick
- Chimney from the 1950s–1970s
- A mismatched color and joint profile that shows from the street
How the mix is chosen
- Chimney from the 1920s–1930s
- Match the historic mortar; a mortar analysis helps on spot repairs
- Chimney from the 1950s–1970s
- Match strength and appearance of the existing joints
Historic review more likely?
- Chimney from the 1920s–1930s
- Yes, if the house is designated
- Chimney from the 1950s–1970s
- Less often, but check
What a repointing plan for an older chimney should spell out
- The mortar type or mix, and why it suits this brick
- Sand matched to the original for color and texture
- Joint profile (flush, concave, raked) matched to the existing joints
- Removal depth: NPS recommends 2 to 2½ times the joint width
- How old mortar comes out without grinding into soft brick edges
- Which joints are being repointed, not a blanket re-do
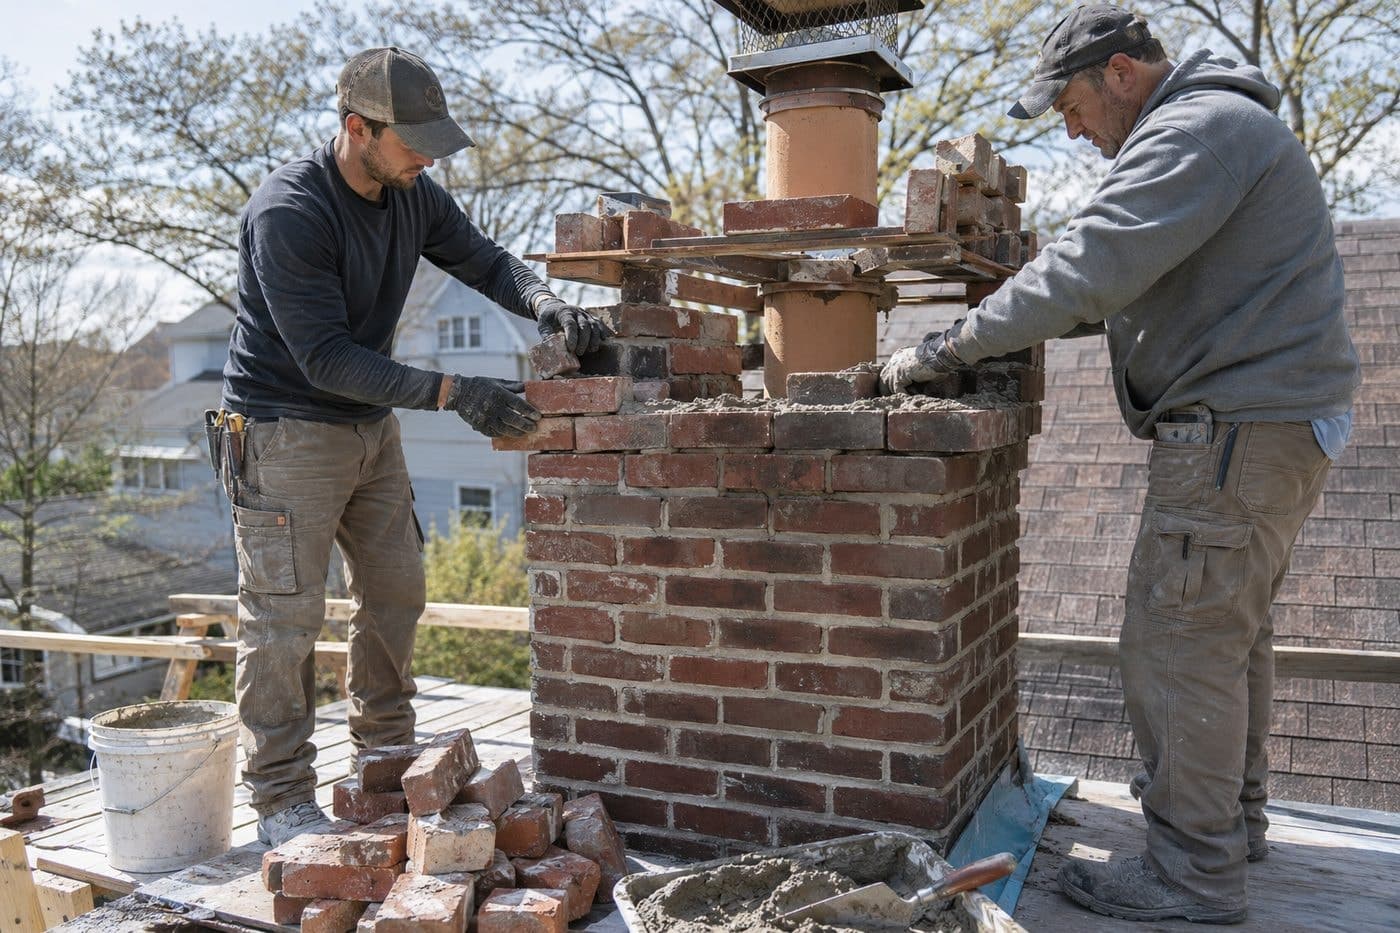
Done properly, repointing is meant to last at least 30 years and preferably 50 to 100, according to the same NPS brief. The repointing and tuckpointing and brick and masonry repair pages cover the work itself, and rebuilding a chimney top covers the cases where the top courses are too far gone to repoint. If brick faces are already flaking, read the guide to why chimney bricks crumble before deciding between repointing and replacing brick.
Historic review: find out before the ladder goes up
The City of Winter Park has recorded more than 700 historic structures, roughly 7% of its residential dwellings. For individually designated landmarks and properties in local historic districts or historic neighborhoods, proposed exterior changes go to the Historic Preservation Board through a Certificate of Review application (City of Winter Park). Being on the city’s list of recorded structures isn’t necessarily the same as being designated, so ask planning staff which applies to your address.
Sequencing a chimney repair on a possibly historic property
Confirm the property’s status
Ask the city’s planning and historic preservation staff whether the house is designated or inside a historic district or neighborhood.
Get the chimney evaluated
Know which components have failed and what the repair involves before any application, so you’re describing real work, not a guess.
Separate like-for-like from change
Repointing in matching mortar is different from changing the brick, adding stucco, lowering the stack or adding a new cap style. Ask staff which of these needs review.
Apply if required
Describe materials, colors and profiles in enough detail for the board to judge compatibility. Photos of the current condition help.
Schedule the work
Once any approval is in hand, book the repair. Temporary measures like a tarp over a leak are a separate question worth asking staff about.
Changes more likely to draw a question
Stuccoing or painting over brick, rebuilding the top in a different brick, lowering or removing part of the stack, and highly visible caps or shrouds all alter how a chimney looks from the street. The city looks for compatibility with the existing architecture, so ask before committing to any of them.
Flashing and liners on a chimney that has outlived several roofs
A 1950s chimney may be on its third or fourth roof. Each reroof is a chance for the counter-flashing to be cut back, left loose in its joint, or replaced by a bead of sealant. When a roof replacement is coming, have the chimney evaluated first so masonry and flashing are handled while the roof is open; the guide to reroofing around a chimney covers the coordination.
Liners are the quieter issue. A crack in a clay flue tile doesn’t leak into the living room, but it lets heat and combustion by-products reach the brick and framing around the flue. If you plan to keep using the fireplace, the liner question has to be settled before cosmetic masonry work.
Damage, leaks or an inspection first?
This page covers physical repair: crowns, mortar, brick, top courses and liners. If the main problem is water showing up inside, a stain beside the chimney or drips in the firebox, leak diagnosis and repair in Winter Park starts by finding the entry point, because on these chimneys it often isn’t directly above the stain. If you don’t yet know what has failed, a chimney inspection for your Winter Park home is the first step.
Repairs are available anywhere in the city, from the Virginia Heights and Interlachen historic districts to newer streets. For other work on the house, see chimney and fireplace services across Winter Park. Nearby, the same work covers masonry and chimney repair in Maitland, repair services in Orlando and chimney repair for Eatonville homes. The chimney repair guide explains each repair in depth.
Selling an older, high-value Winter Park home
With a median home value of $731,400 in Census estimates, a chimney finding can become a negotiation point out of proportion to the repair. Florida’s home inspection standards don’t require the inspector to look inside the flue (F.A.C. 61-30), so many buyers order a separate chimney inspection, and that’s where old-chimney issues usually surface.
| Finding | Fix before listing? | Reasoning |
|---|---|---|
| Active leak, cracked crown or failed flashing | Usually yes | Water stains invite bigger questions than the repair costs to settle. |
| Cracked or missing flue tiles | Fix, or disclose with a repair plan | A buyer’s inspector will likely call the fireplace unsafe to use. |
| Loose brick at the top | Yes | It’s a safety issue and hard to price from a report. |
| Minor mortar erosion lower down | Optional | Can be disclosed as maintenance if the top is sound. |
| Missing cap | Cheap to fix | Keeps rain and animals out before showings. |
A pre-listing chimney inspection tells you what a buyer’s inspector is likely to find, so you can decide what to fix and what to disclose.
References (4)
Where the Winter Park numbers and code references come from.