How chimney flashing is supposed to work
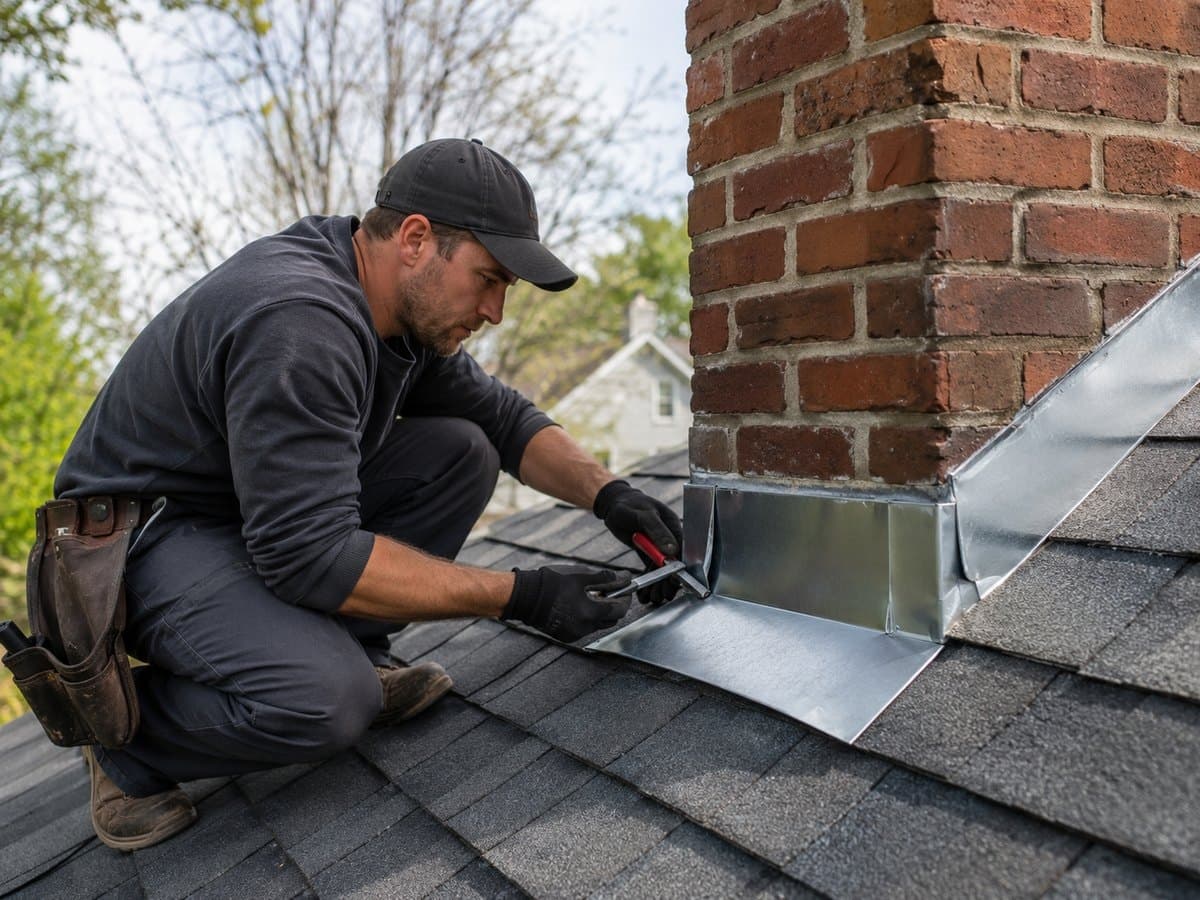
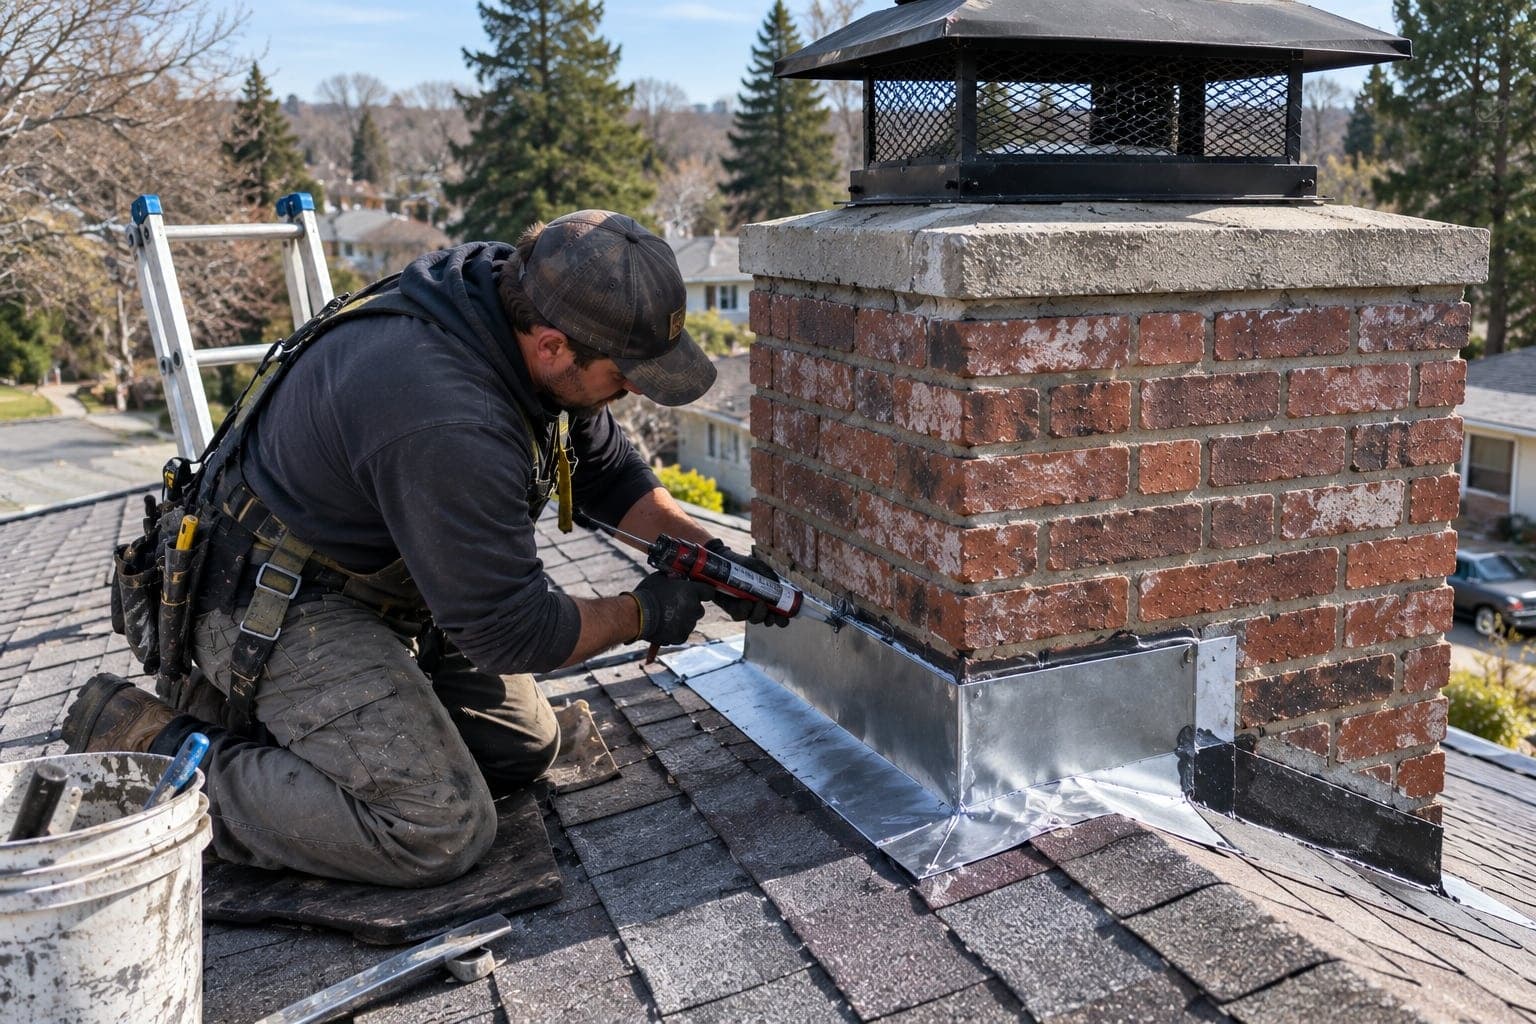
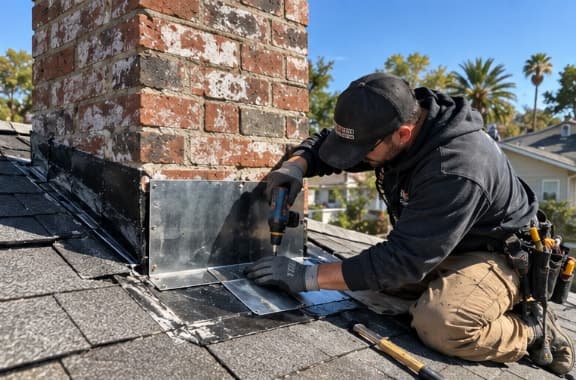
A chimney passes through the roof, and the chimney and the roof move independently. Flashing bridges that gap with two layers. Step flashing is L-shaped pieces woven in with each course of shingles along the sides. Counterflashing is set into a mortar joint of the brick and laps down over the step flashing, so water running down the brick is shed onto the roof instead of behind it. The low side has an apron, and on the high side a chimney wider than 30 inches needs a cricket, a small peaked roof that splits water around the chimney (Florida Building Code, Residential, Chapter 10).
Masonry chimney and fireplace, cutaway
- 1Chimney cap. Metal lid with mesh sides over the flue opening. Keeps rain, debris and animals out.
- 2Crown. The concrete or mortar top of the masonry, sloped to shed water away from the flue.
- 3Flue liner. Clay tile or metal lining that carries smoke up and protects the masonry from heat.
- 4Flashing. Metal that seals the joint between the chimney and the roof.
- 5Brick & mortar. The chimney structure. Mortar joints and brick faces absorb water when they wear.
- 6Smoke chamber. The sloped transition that funnels smoke from the firebox into the flue.
- 7Damper. Metal plate at the throat (or a sealing lid on top) that closes the flue when not in use.
- 8Firebox. Where the fire burns. Firebrick laid in heat-resistant mortar.
- 9Hearth. Non-combustible floor extension in front of the fireplace opening.
Signs the flashing is the leak
| Clue | Points to flashing | Points elsewhere |
|---|---|---|
| Where the water shows | Ceiling, wall or attic framing beside the chimney | Inside the firebox: more often the cap, crown or flue |
| When it shows | Heavy rain, especially with wind against the high side | Any light rain: often an open flue or missing cap |
| What the roof looks like | Metal lifted, rusted or buried under roofing cement | Flashing tight and clean |
| After work on the roof | Leak started after a reroof | Leak predates the roof work |
A reroof is the classic trigger. If the old counterflashing was bent up, reused or replaced with a bead of caulk when the new shingles or tiles went on, the leak often appears in the first big storm afterward. Our article on what to do about the chimney before a new roof explains how to avoid that.
Why flashing fails
Common flashing failures
01Surface-mounted counterflashing sealed with caulk
- What you may notice
- A strip of metal screwed flat to the brick face with a caulk line along the top.
- How it’s confirmed
- Checking whether the counterflashing is let into a mortar joint or just stuck on. Caulk-only joints fail as the sealant ages in the sun.
02Missing or damaged step flashing
- What you may notice
- Stains that run down the side of the chimney chase in the attic.
- How it’s confirmed
- Lifting the roofing along the sides where possible to see whether step flashing is present and lapped correctly.
03No cricket on a wide chimney
- What you may notice
- Leaves and water pooling on the uphill side; leaks worst in long storms.
- How it’s confirmed
- Measuring the chimney width and checking for debris and ponding on the high side.
04Water entering above the flashing
- What you may notice
- Flashing looks sound but water still appears; brick is dark and saturated.
- How it’s confirmed
- Water-testing the brick, mortar joints and crown separately. Porous brick can let water in behind perfectly good flashing.
05Loose mortar joint holding the counterflashing
- What you may notice
- Counterflashing that can be pulled out by hand, or mortar missing along its line.
- How it’s confirmed
- Checking the reglet joint and repointing it before the flashing is reset.
Safe checks you can do
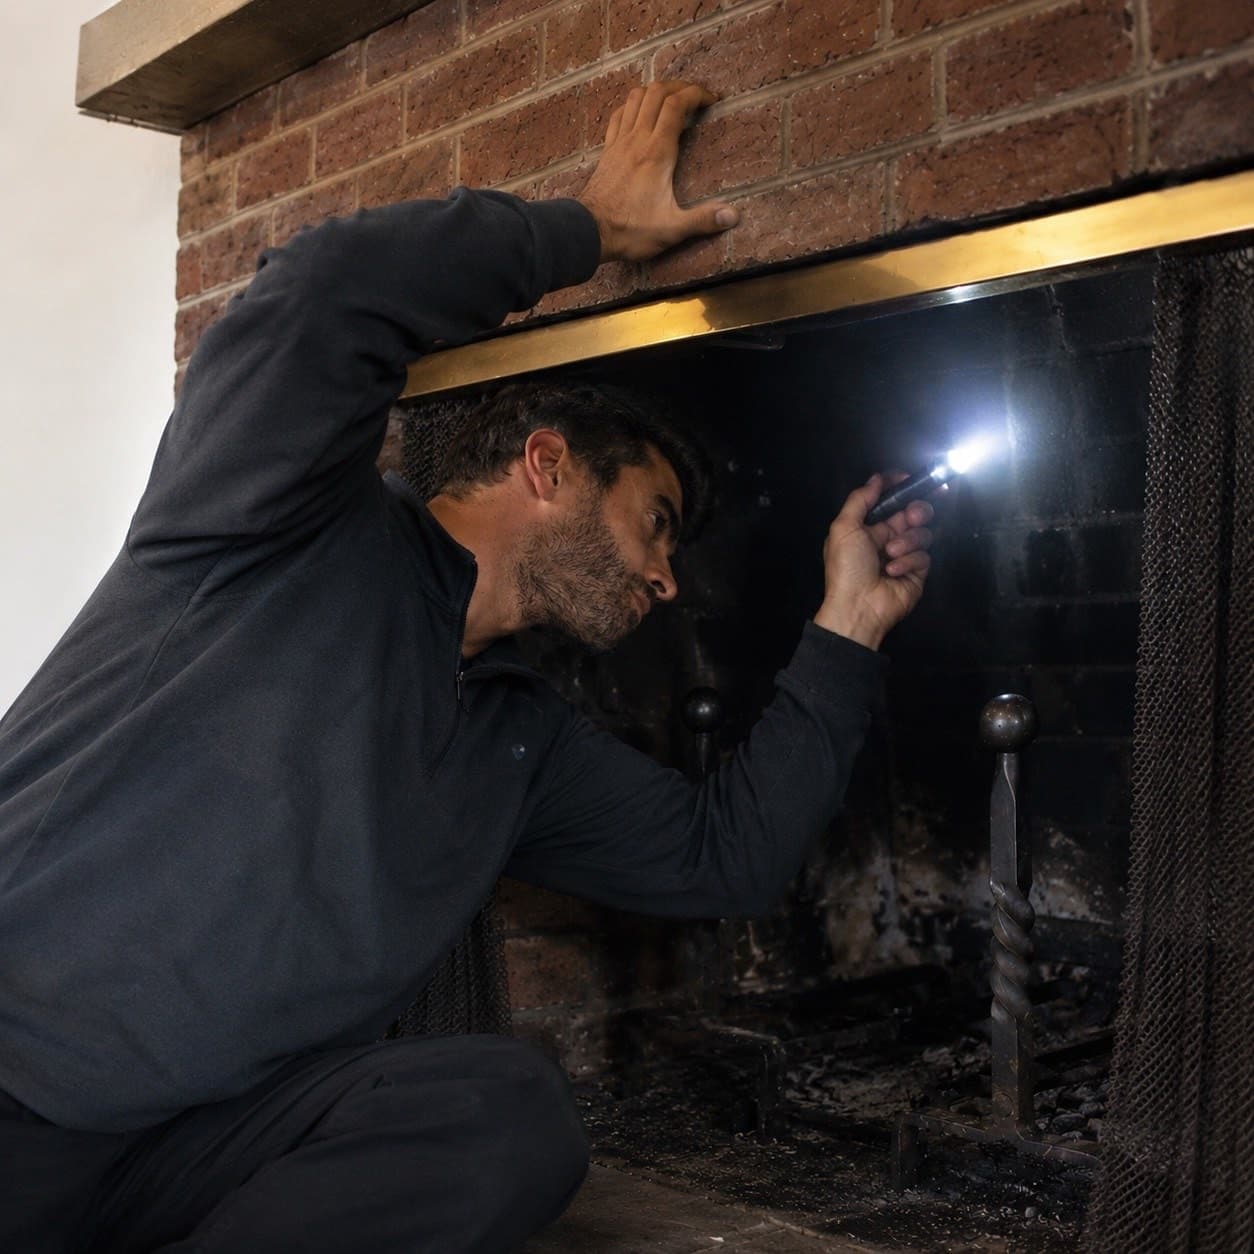
- In the attic, with a flashlight, look at the roof deck and rafters around the chimney for dark stains, soft wood or daylight.
- From the ground, use binoculars to look for metal lifting away from the brick or a heavy smear of black roofing cement.
- Clean out leaves you can see from a window on the uphill side of the chimney; the debris line tells you where water ponds.
- Keep a note of which storms cause the leak: wind direction and rain length help separate flashing from other entry points.
- Mark the edge of any ceiling stain with a pencil and date it, so you can tell after the next rain whether it is growing.
More sealant usually isn’t the fix
Roofing cement and caulk are useful for small, temporary repairs. Layered on year after year they hide rust and gaps, trap water against the brick, and make a proper repair harder later. If the flashing has been caulked more than once, it is time to rebuild the joint.
Red flags
- Ceiling drywall sagging or soft near the chimney.
- Rotten roof decking or rafters in the attic beside the chimney.
- Mold growth on the attic side of the roof around the chimney.
- Water appearing in several places at once, which can mean the chimney and the roof both need attention; see water coming through the chimney.
What a professional flashing assessment involves
Inside first
Attic and ceiling stains are mapped so the outside inspection starts at the right corner of the chimney.
Roof line
Step flashing, counterflashing, apron and cricket are checked, along with the roofing material around them.
Rule out the masonry
Brick, joints and crown are checked, because water entering higher up can look exactly like a flashing leak.
Repair to match the roof
Flashing is rebuilt with counterflashing cut into the mortar joints, coordinated with the roofer when shingles or tile have to be lifted.
What repairs failed flashing
| What’s found at the roof line | Where it’s fixed |
|---|---|
| Caulk-only flashing, lifted or missing counter-flashing | chimney flashing repair |
| Water behind the flashing from the brick above | mortar and brick repair and a water repellent |
| More than one entry point | a full leak diagnosis |
A new roof is the cheapest time to redo flashing properly; see reroofing around a chimney and how chimney flashing works. Local leak visits: Clermont chimney leak help or leak diagnosis in Oviedo.
References (1)
Facts and figures on this page come from these references.