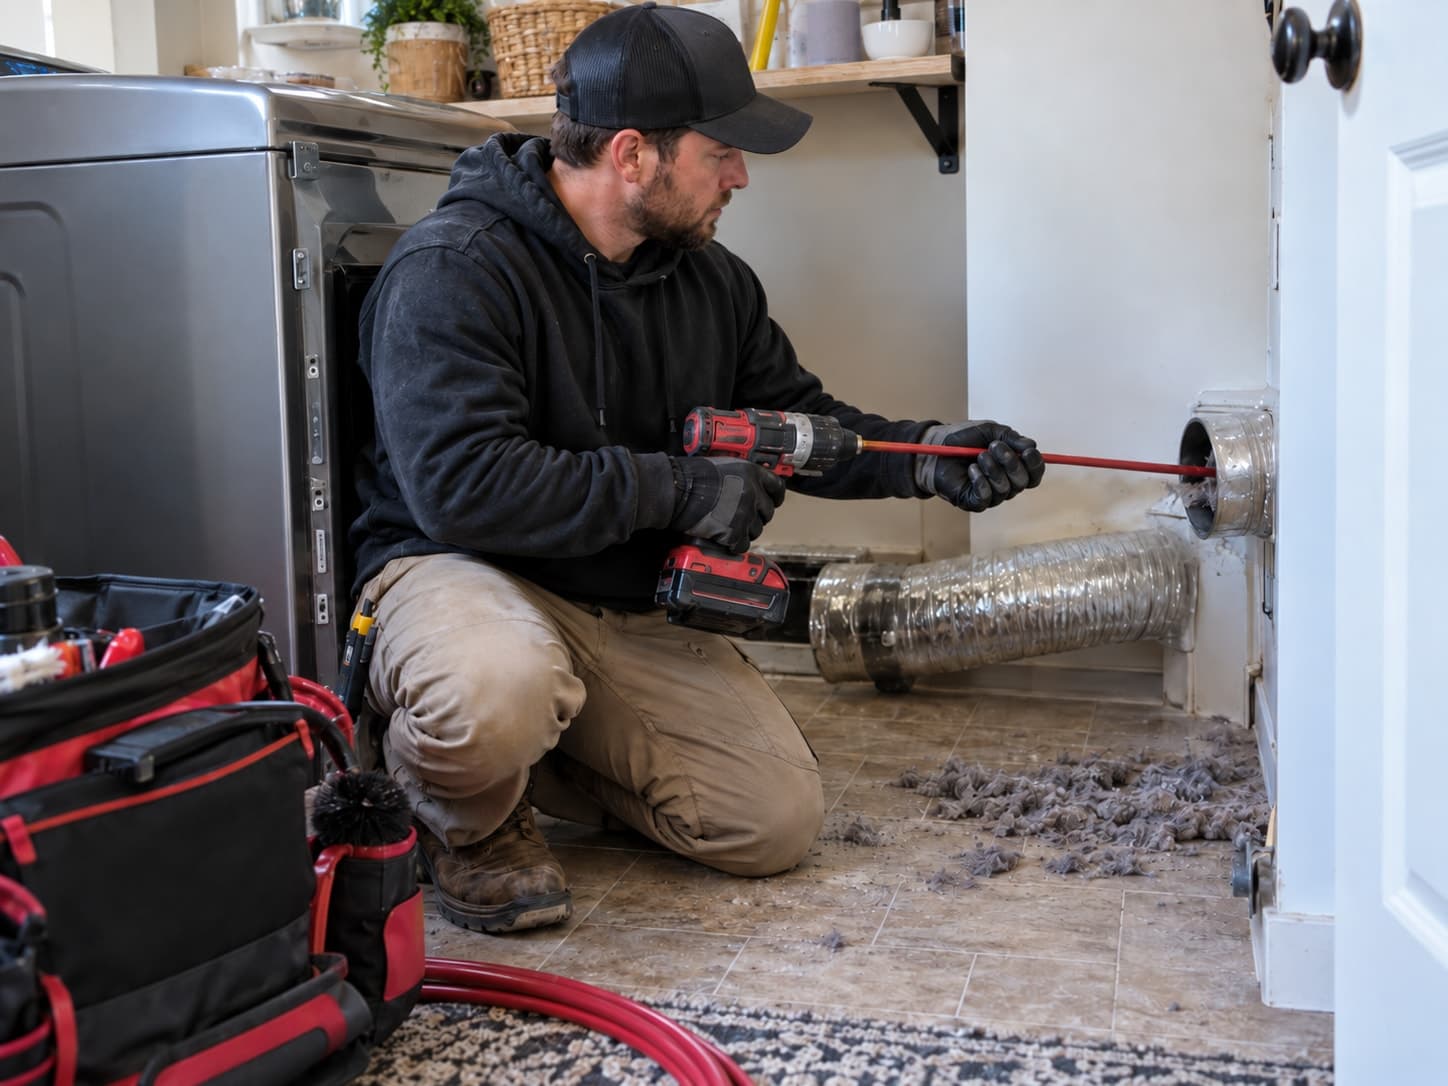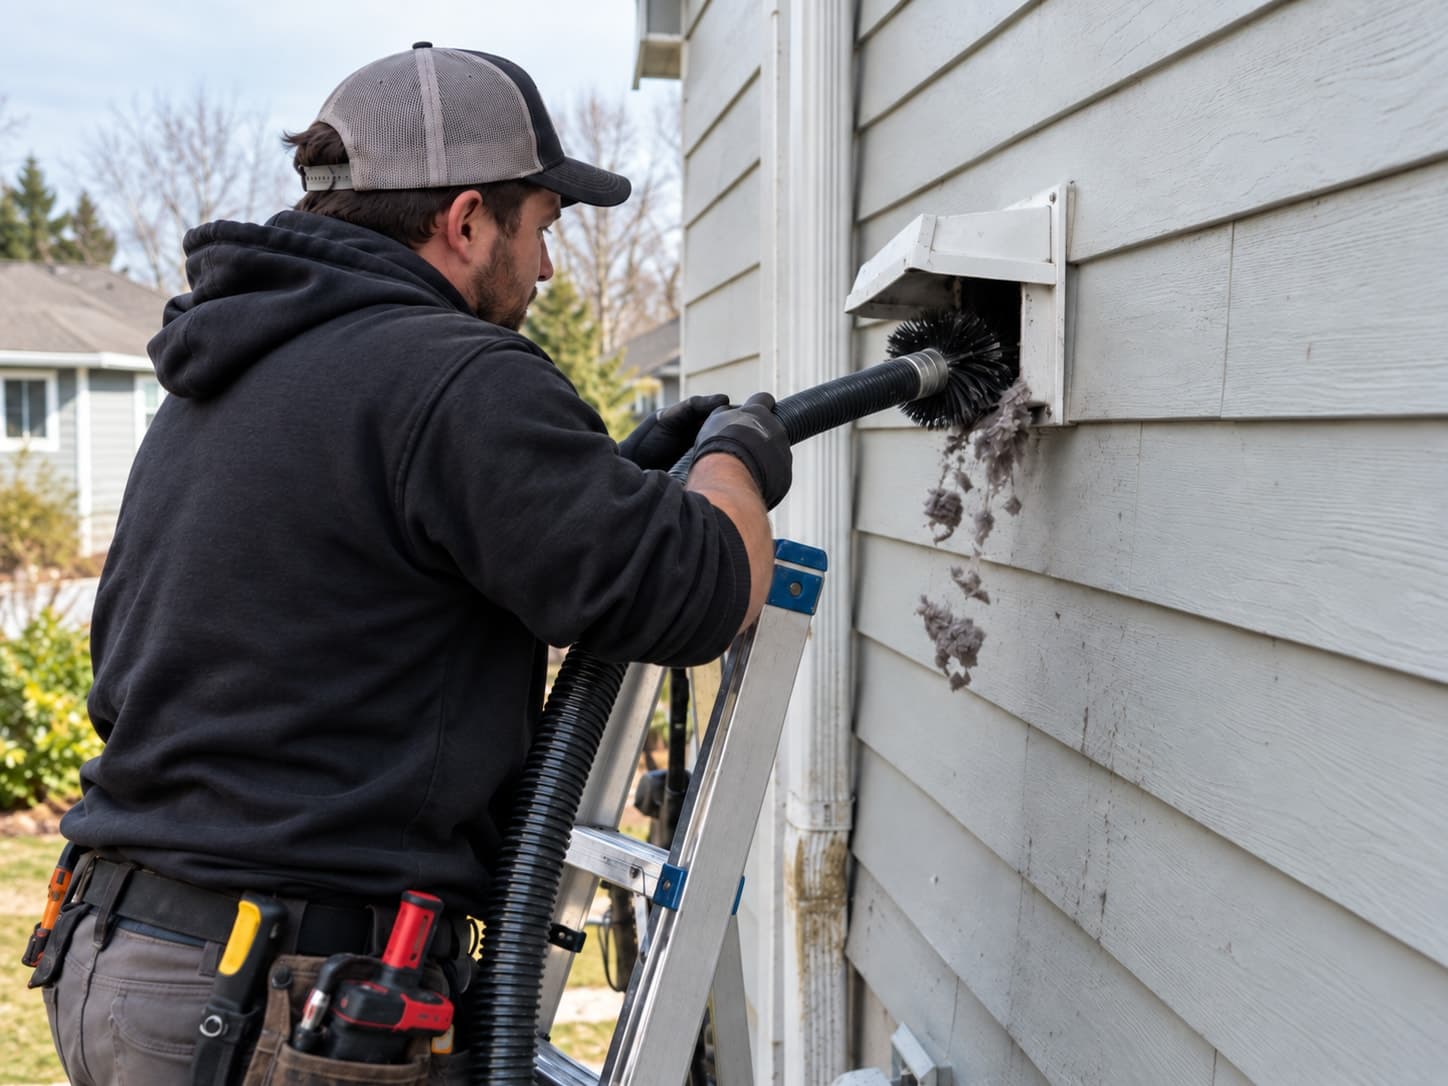
Where vents come apart or get crushed
Dryer vent system, from dryer to termination
- 1Lint screen. Catches most lint inside the dryer. What gets past it collects in the duct.
- 2Transition duct. Short connector from the dryer to the wall. Easily crushed behind the machine.
- 3Duct run. Smooth 4-inch metal duct through walls, floors or the attic.
- 4Elbows. Every bend adds resistance and counts against the allowed duct length.
- 5Roof cap. Roof termination, common on two-story homes. Hard to see and to clean.
- 6Wall hood. Side-wall termination. Must open freely and has no screen.
- 7Backdraft damper. Flap that opens under airflow and closes to keep out air, rain and pests.
| Location | What goes wrong | Signs |
|---|---|---|
| Behind the dryer (transition hose) | Crushed when the dryer is pushed back, or pulled off the dryer or wall collar | Lint on the floor behind the dryer, slow drying, a hot dryer |
| At the wall or floor connection | Hose slipped off the duct stub; clamp loose | Lint and warm air coming out around the connection |
| Inside a wall or chase | Joint separated, often where tape has failed | Lint in the wall, humidity, weak air outside |
| In the attic | Joints pulled apart, duct sagging or knocked loose by other trades | Lint on the insulation, a humid attic, no air at the roof |
| Under the house or in a crawlspace | Duct detached or crushed | Musty smell, lint in the crawlspace |
Possible causes
01Moving the dryer
- What you may notice
- Problem started after the dryer was replaced, serviced or pushed back.
- How it’s confirmed
- Checking the hose for crushing and both ends for secure clamps. A periscope-style connector helps where space is tight.
02Foil or plastic hose
- What you may notice
- Thin, accordion foil or white vinyl hose, often kinked or torn.
- How it’s confirmed
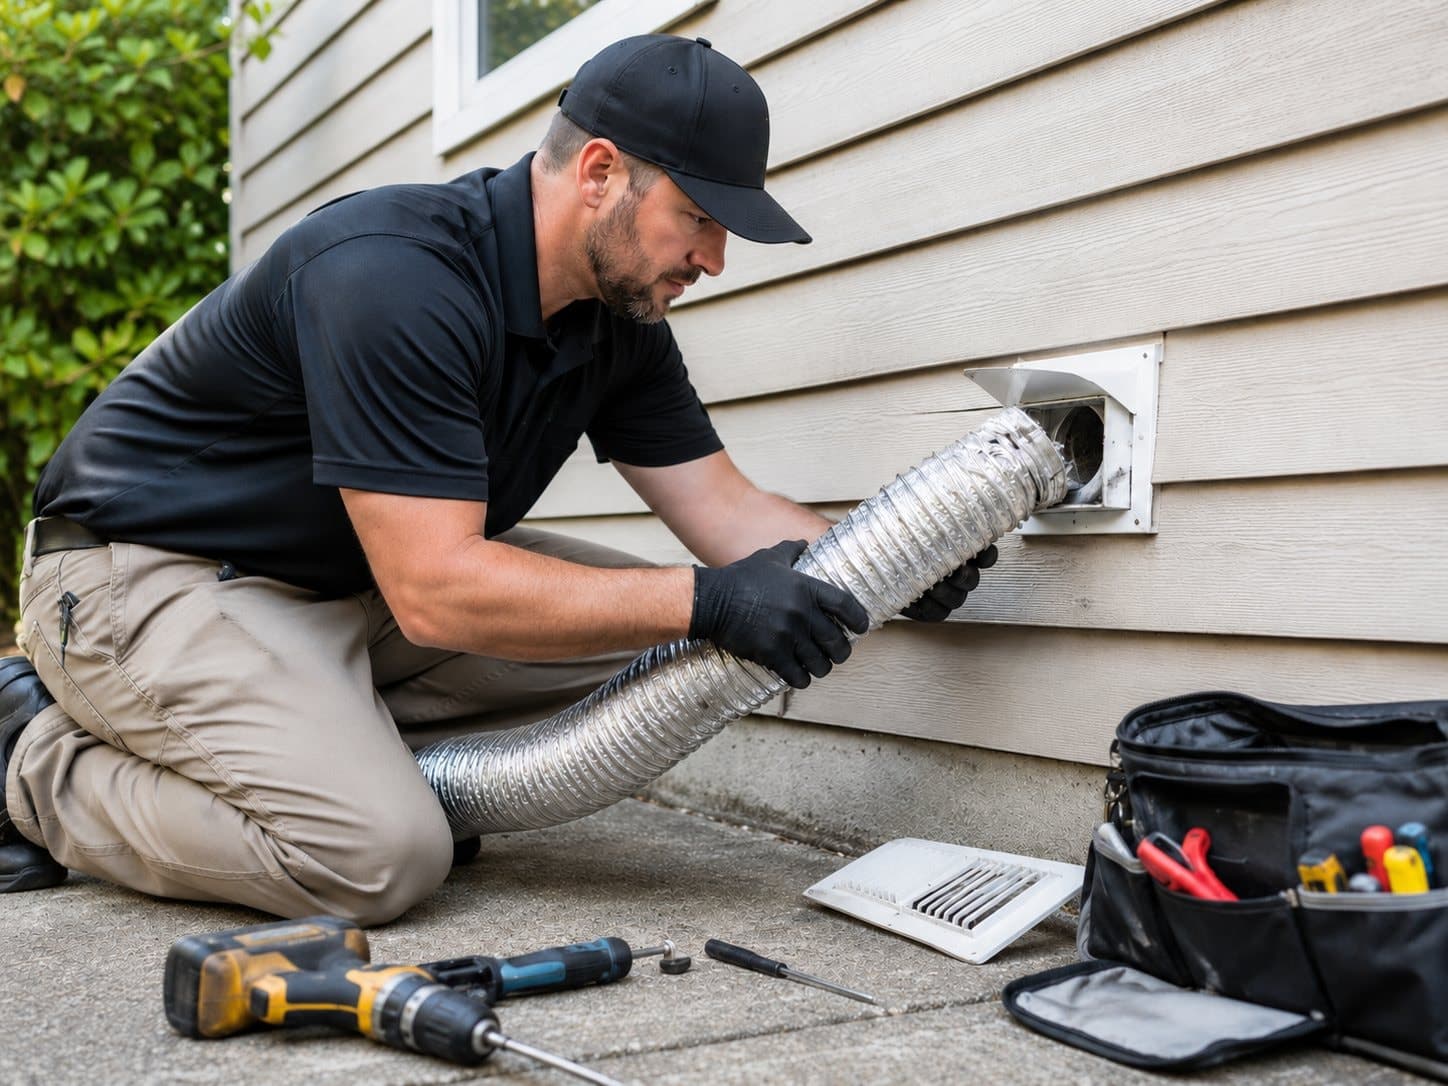
- Replacing with a metal transition duct listed for dryer use. Many dryer manufacturers and the code call for this.
03Failed tape or joints
- What you may notice
- Separations in the hidden run, sometimes years after installation.
- How it’s confirmed
- Inspecting the run and resealing joints with foil tape. Screws that poke into the duct catch lint and aren’t allowed.
04Other work in the attic or walls
- What you may notice
- Problem started after roof, AC, insulation or electrical work.
- How it’s confirmed
- Walking the attic run for knocked-off or crushed sections.
05Run too long or badly routed
- What you may notice
- Several separations and sags along a long run, sometimes with a booster fan that has stopped.
- How it’s confirmed
- Measuring the run; rerouting when it can’t be supported and sealed properly. See a vent that keeps clogging.
Why it matters
Disconnected exhaust blows hot, lint-laden air into the wall, attic or laundry room. Lint piles up next to wood framing and insulation where no one sees it, and the moisture from every load, several pounds of water, soaks into drywall and framing. In Central Florida’s humidity that is an easy route to mold. A gas dryer also exhausts combustion gases, which is why an unvented gas dryer should not be run at all (CPSC).
Safe checks you can do
- Unplug an electric dryer (or turn a gas dryer’s control off), pull it out and check the hose for crushing and both ends for secure clamps.
- Look for lint on the floor and wall behind the dryer.
- With the dryer running on heat, check for strong, warm air at the outside vent.
- If you can safely get into the attic, follow the duct with a flashlight for separations, sags and lint on the insulation. Stay on the joists.
- Push the dryer back slowly while watching the hose so it doesn’t fold.
Red flags: stop using the dryer
- Lint piled inside a wall, closet or attic.
- A gas dryer that isn’t vented outside, or any gas smell.
- A hot, burning smell or a dryer that shuts itself off: see a dryer that’s overheating.
- Water, stains or mold near the vent run: see water in the dryer vent.
What a vent repair involves
Trace the run
The duct is followed from the dryer to the termination, including attic or crawlspace sections.
Clean out spilled lint
Lint that has collected around a separation is removed along with the lint inside the duct.
Reconnect with the right materials
Rigid metal duct for concealed runs, a listed metal transition duct behind the dryer, foil tape at joints and proper support.
Test airflow
Airflow at the termination is measured once the system is back together.
Reconnecting or replacing the duct
| What’s wrong | Where it’s fixed |
|---|---|
| Hose crushed or kinked behind the dryer | duct repair with a listed transition duct |
| Joint separated in the attic or wall | reconnecting the duct |
| Lint blown into the attic or wall | heavy lint removal |
| Route that keeps pulling apart or is too long | rerouting |
An inspection with airflow testing finds a separation you can’t see. Duct materials are compared in rigid, semi-rigid and foil duct. Local: dryer vent cleaning visits in Ocoee include a check of the connector behind the dryer.
References (2)
Facts and figures on this page come from these references.