Mortar joints vs the bricks themselves
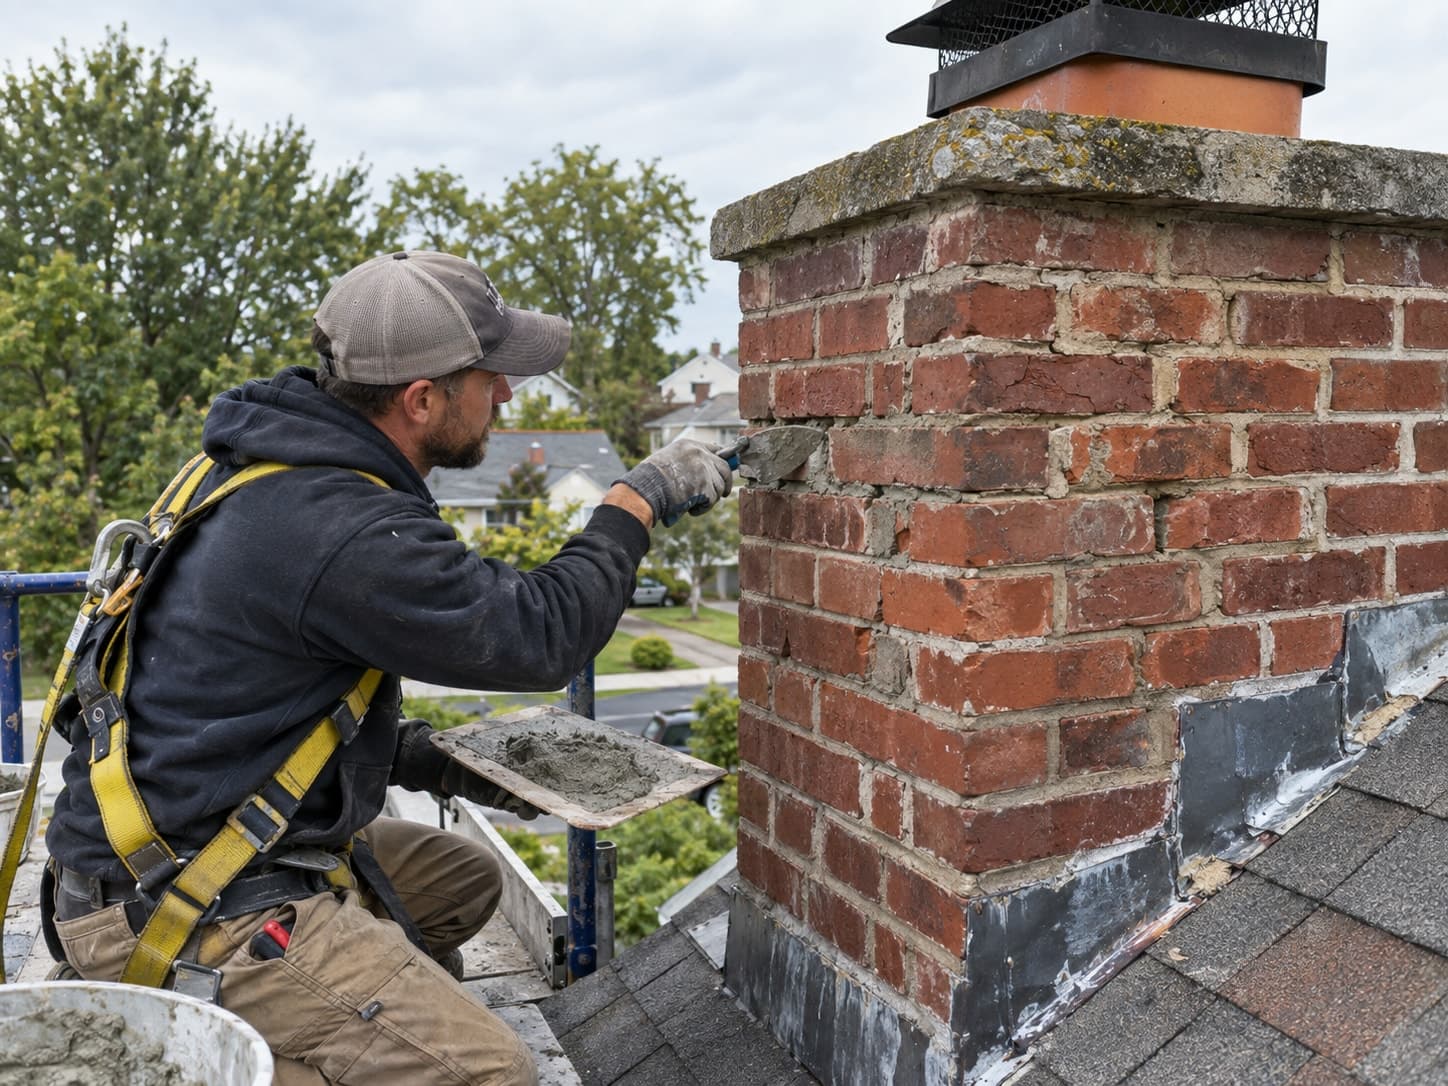
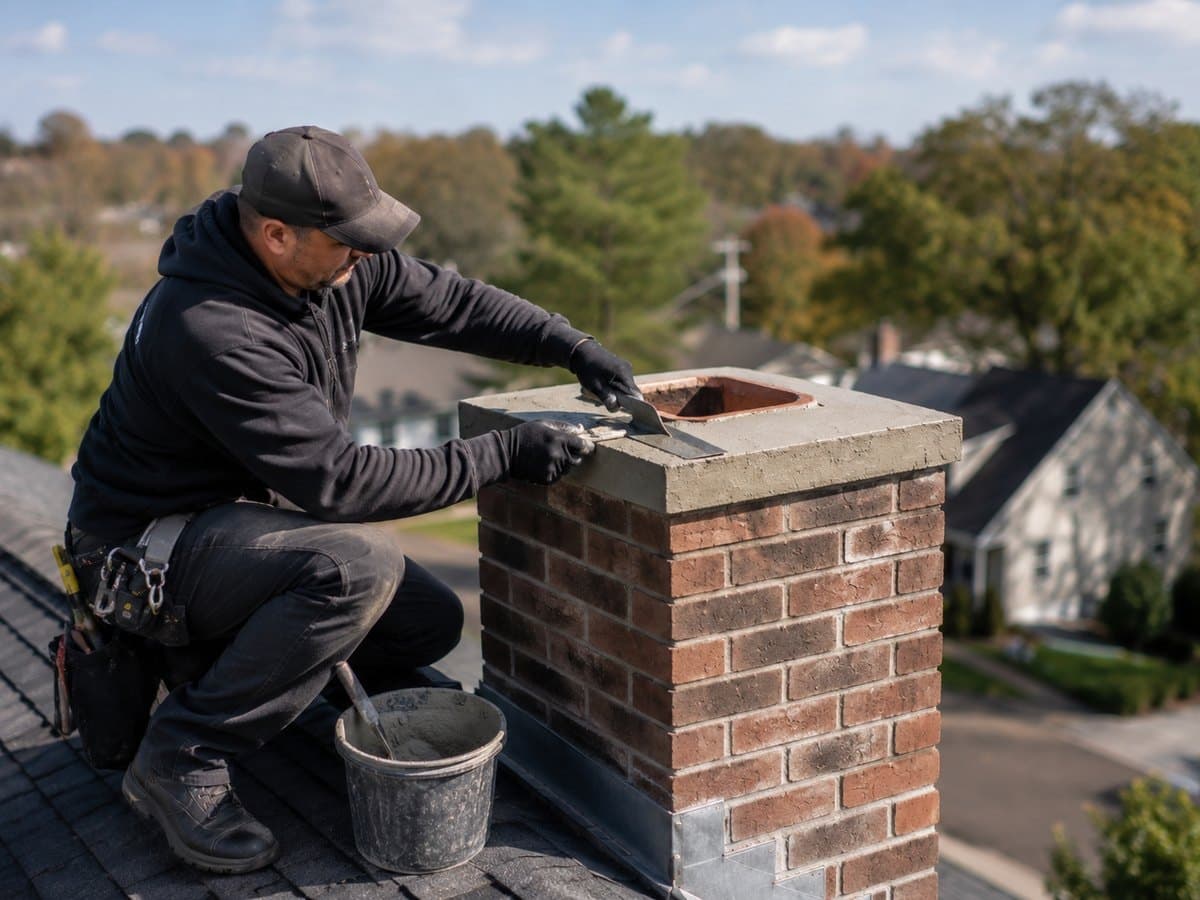
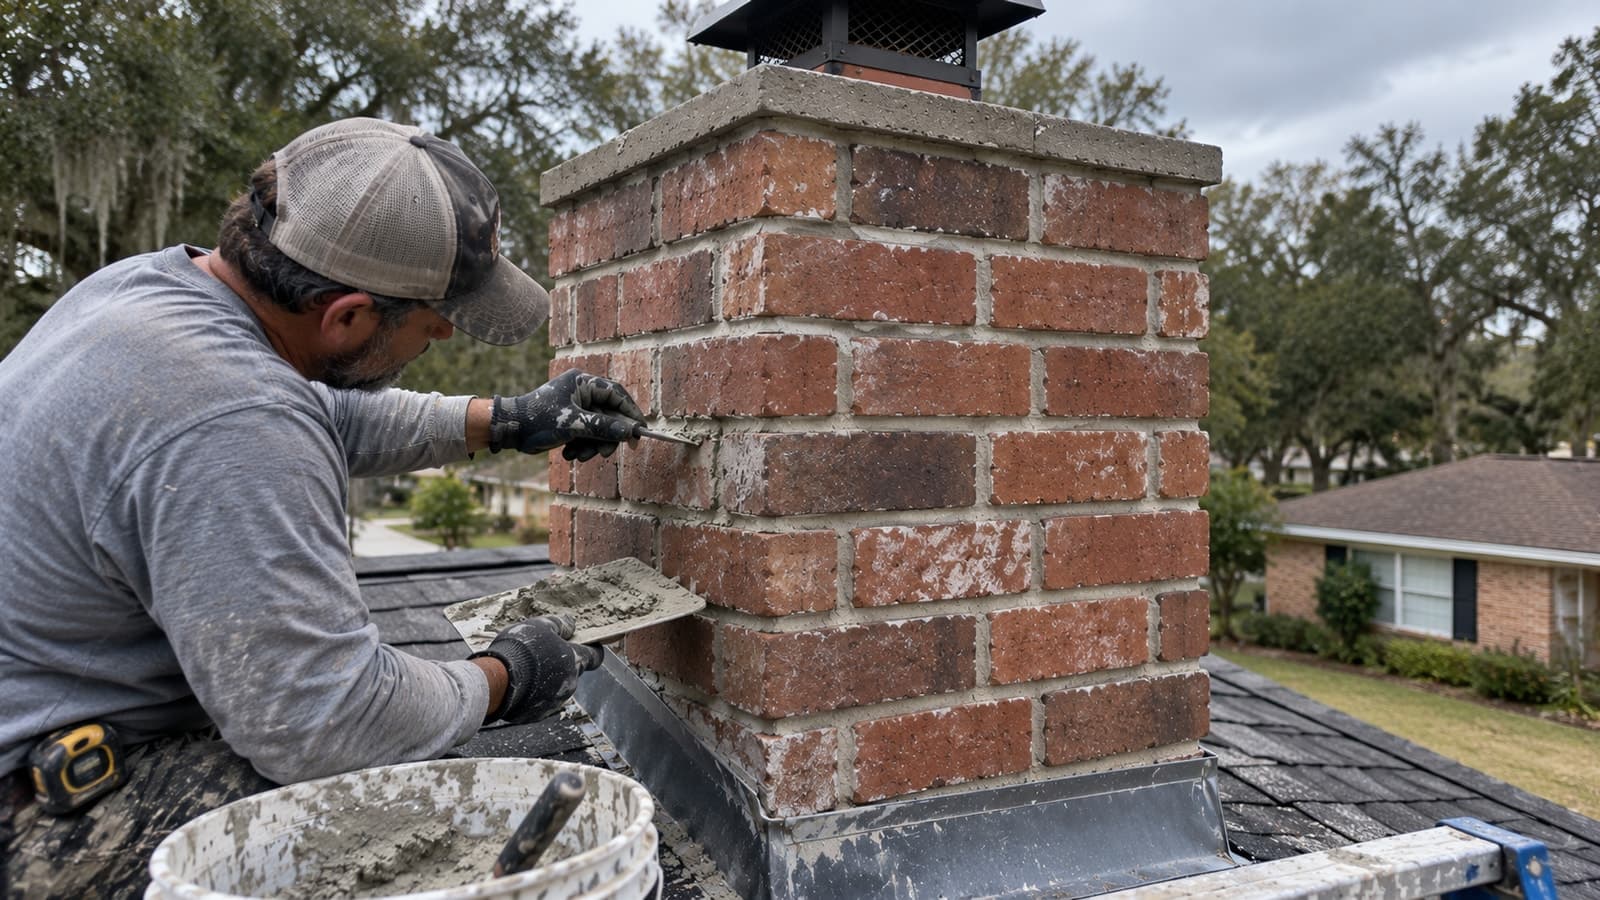
Mortar is meant to be the sacrificial part of a brick wall. It is softer and more porous than the brick, so movement and moisture work through the joints rather than cracking the bricks. That design means joints need renewing every few decades. If the brick faces are flaking or breaking apart instead, that is a different problem, covered in crumbling chimney bricks.
Masonry chimney and fireplace, cutaway
- 1Chimney cap. Metal lid with mesh sides over the flue opening. Keeps rain, debris and animals out.
- 2Crown. The concrete or mortar top of the masonry, sloped to shed water away from the flue.
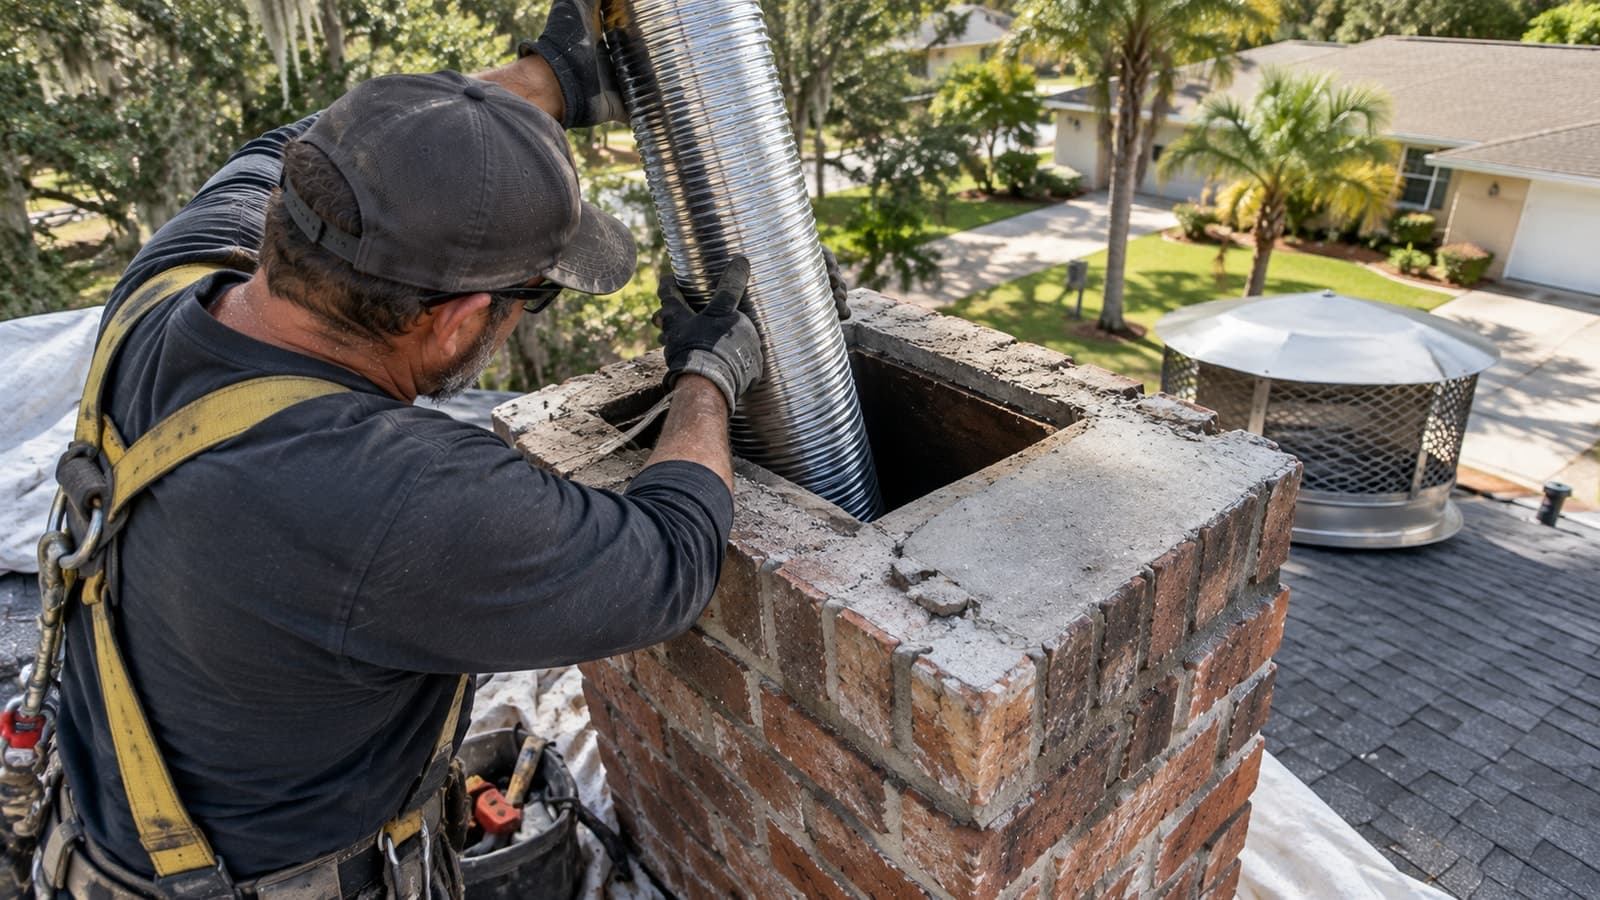
- 3Flue liner. Clay tile or metal lining that carries smoke up and protects the masonry from heat.
- 4Flashing. Metal that seals the joint between the chimney and the roof.
- 5Brick & mortar. The chimney structure. Mortar joints and brick faces absorb water when they wear.
- 6Smoke chamber. The sloped transition that funnels smoke from the firebox into the flue.
- 7Damper. Metal plate at the throat (or a sealing lid on top) that closes the flue when not in use.
- 8Firebox. Where the fire burns. Firebrick laid in heat-resistant mortar.
- 9Hearth. Non-combustible floor extension in front of the fireplace opening.
What failing mortar looks like
| What you see | What it usually means | Typical fix |
|---|---|---|
| Joints recessed a quarter inch or more behind the brick face | Weathering has eroded the joint surface | Repointing |
| Mortar that rubs away like sand with a finger | The binder has broken down, often from constant moisture | Repointing, plus stopping the water |
| Hairline cracks along joints | Shrinkage or small movement | Monitor or repoint the section |
| Stair-step cracks through several courses | Movement or settlement | Assessment before repair; may need relaying |
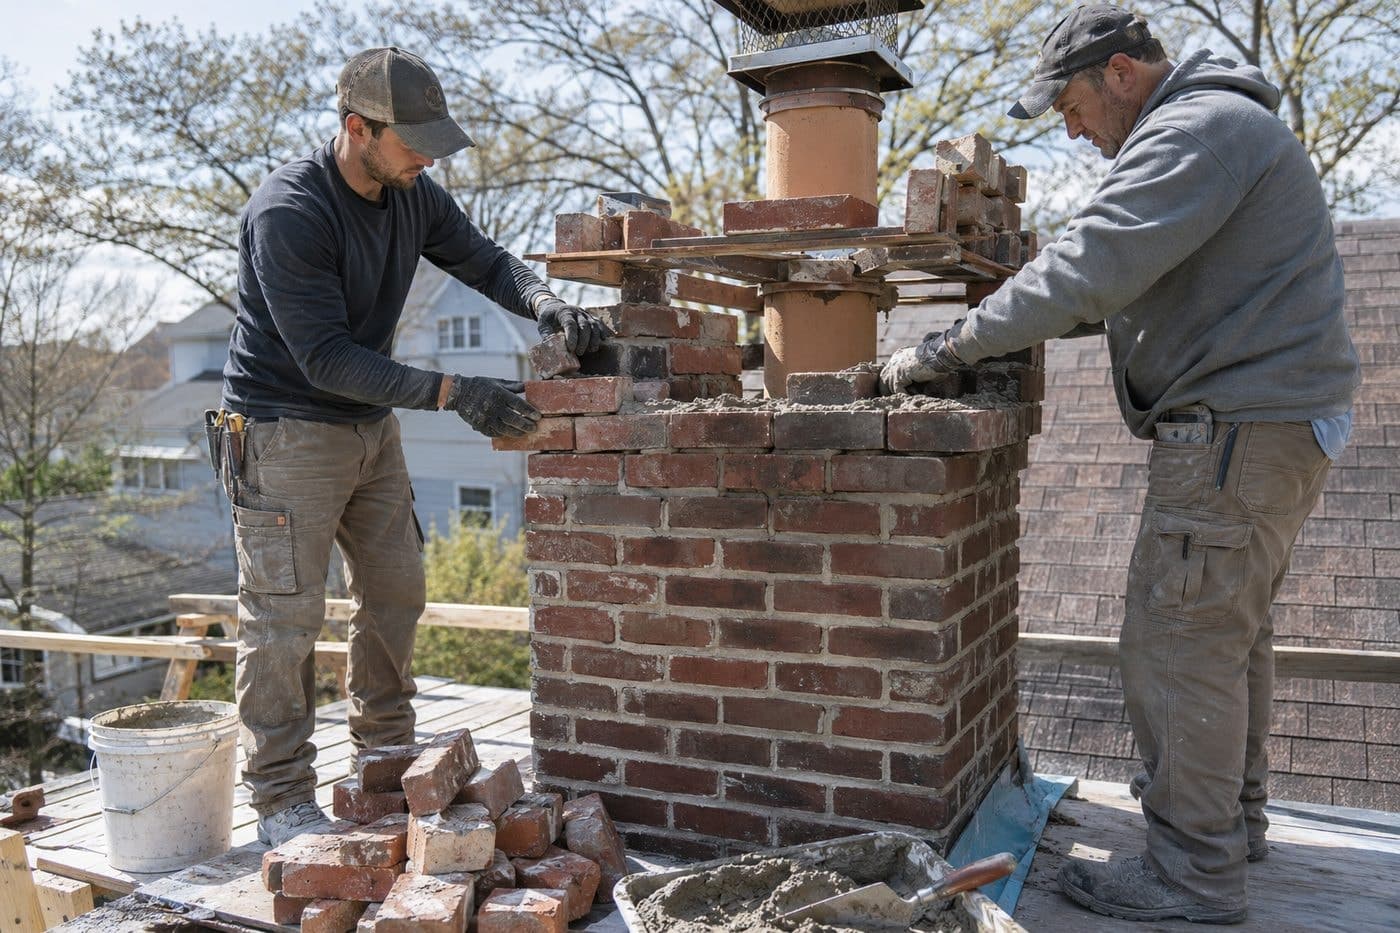
| Bricks that move when touched, gaps you can see through | The joints have failed completely | Relay that section, often the top of the chimney |
| Gray patches of newer, harder-looking mortar | Earlier patching, sometimes with the wrong mortar | Check the brick around those patches for damage |
Why the mortar is failing
01Water entering from the top
- What you may notice
- Worst damage in the courses just below the crown; white staining; rust on the damper.
- How it’s confirmed
- Checking the crown, cap and flue tile before any joint work, so the new mortar doesn’t wash out too. See a cracked chimney crown.
02Weather exposure over decades
- What you may notice
- Even, shallow erosion on the sides that face prevailing rain and afternoon sun.
- How it’s confirmed
- Probing joints on every side to see how deep the soft mortar goes.
03Wrong patch mortar
- What you may notice
- Hard gray patches with spalled brick edges around them.
- How it’s confirmed
- Comparing the patch with the original mortar and checking the brick edges for damage.
04Movement of the chimney
- What you may notice
- Diagonal cracks, a gap at the wall, a chimney that is out of plumb.
- How it’s confirmed
- Checking for lean and settlement; see a leaning chimney.
05Heat and acidic flue gases (inside)
- What you may notice
- Crumbling mortar inside the firebox or smoke chamber.
- How it’s confirmed
- Inside joints use heat-rated mortar and are checked separately; see a cracked firebox.
Why the mortar type matters
The National Park Service guidance on repointing makes a point that applies to any brick chimney: new mortar should match the original in strength and appearance and should be softer and more permeable than the brick around it (NPS Preservation Brief 2). When a hard, high-cement mortar is packed into a wall of softer brick, the joint stops being the weak point. Moisture and movement then work through the brick faces instead, and they spall. This matters most on older chimneys in neighborhoods such as those around Winter Park and downtown Orlando.
Safe checks you can do
- Look for sand, mortar crumbs or brick chips on the roof, in the gutters and on the ground around the chimney.
- Where the chimney is reachable from the ground (the lower part of an exterior chimney), run a key along a joint: sound mortar resists, failing mortar scratches out easily.
- Use binoculars on the upper chimney for recessed joints, open gaps and bricks that sit out of line.
- Check inside the fireplace for mortar sand on the smoke shelf or hearth.
- Don’t pull at loose bricks, and keep people and cars away from the base if bricks are loose near the top.
Red flags
- Bricks falling from the chimney, or loose bricks near the top that move in wind.
- Stair-step cracks together with a chimney that looks out of plumb.
- Water entering the house near the chimney: see water coming through the chimney.
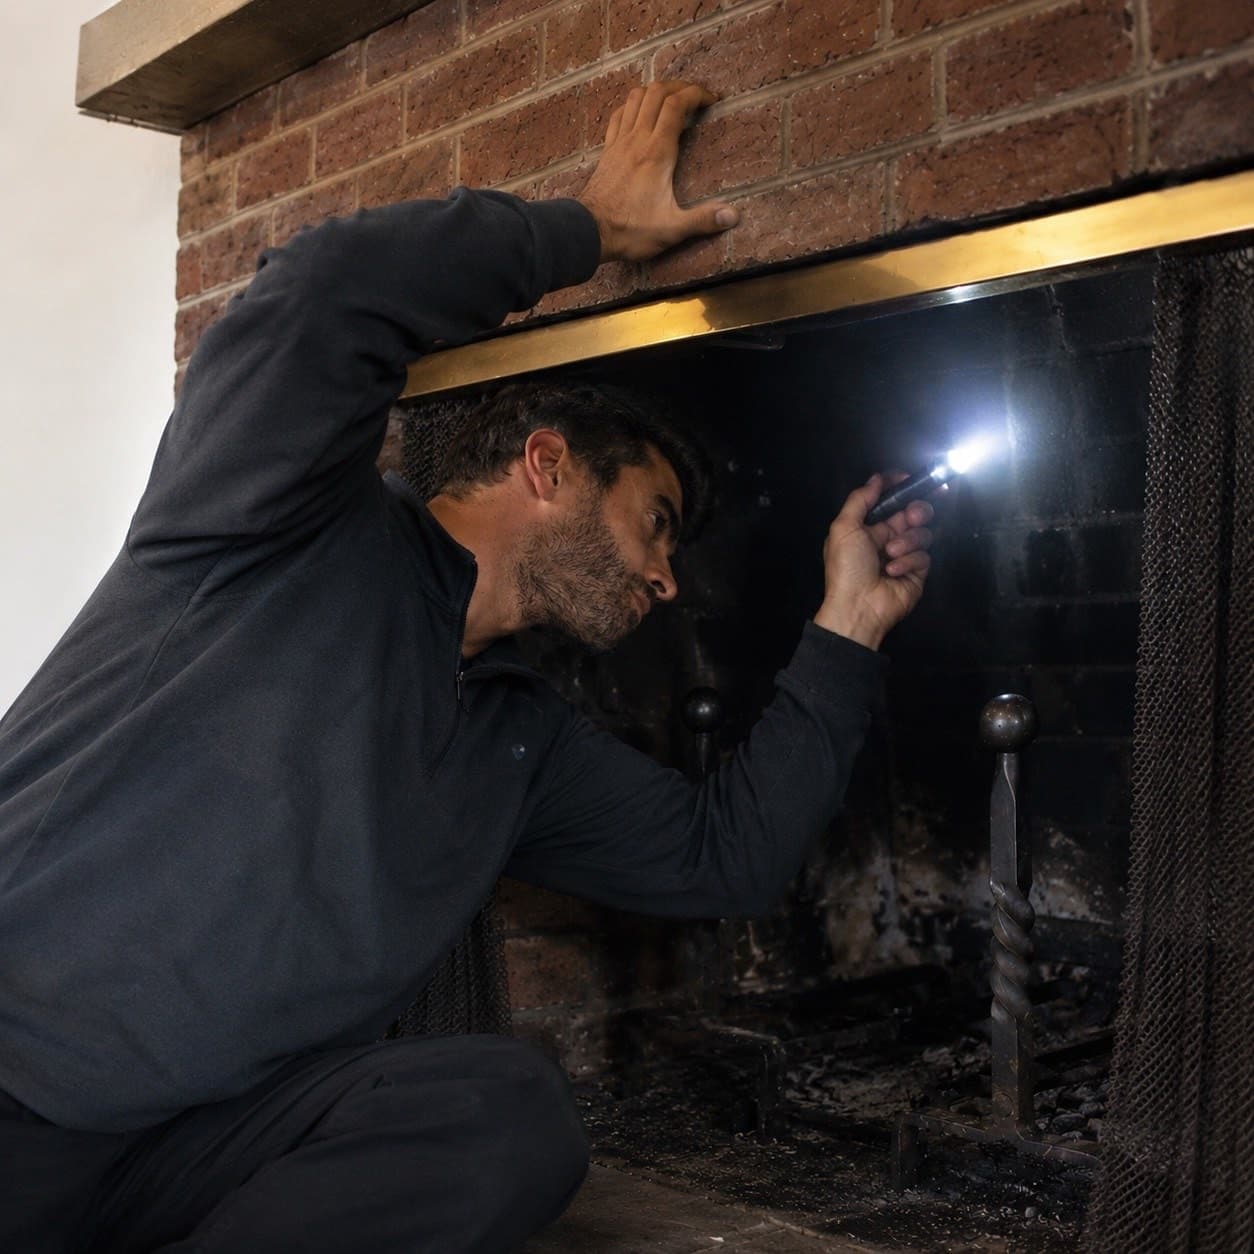
- Mortar gaps inside the firebox or smoke chamber, which let heat reach where it shouldn’t. Keep the fireplace unused until repaired.
What a professional masonry assessment involves
Top down
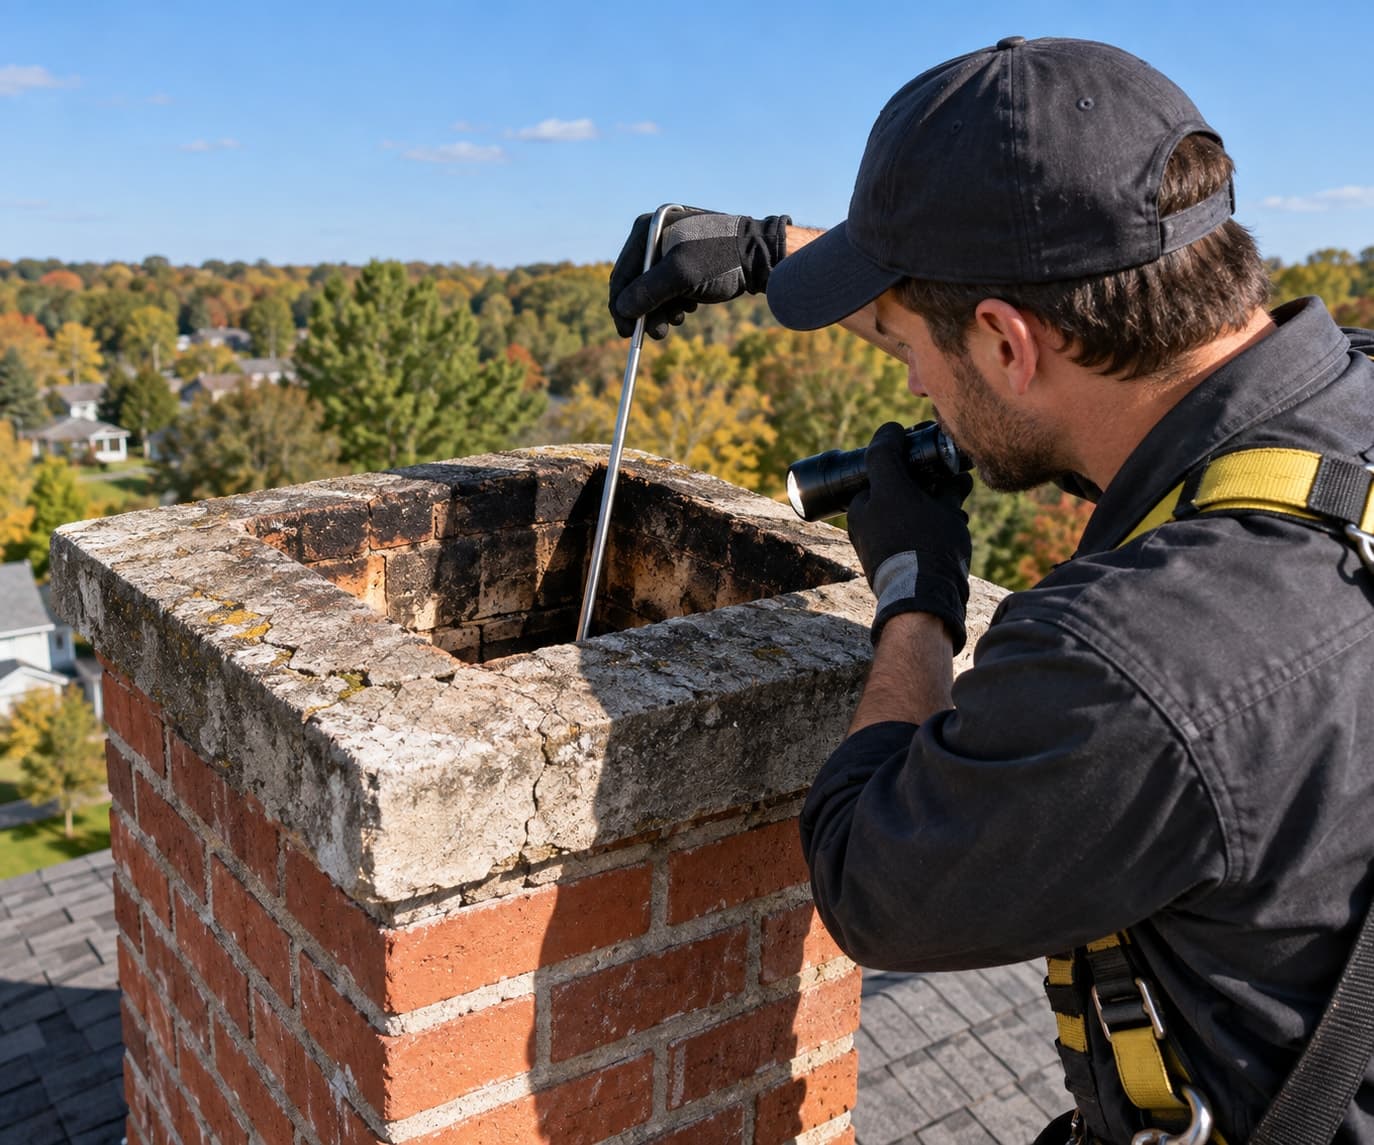
The crown, cap and flashing are checked first, since they are usually why the joints failed.
Joint depth
Joints are probed on all sides to map which sections need repointing and which bricks need relaying.
Match the mortar
The original mortar and brick are assessed so the new mortar is compatible in strength and color.
Right scope
Repointing for sound walls with worn joints; relaying the top courses when bricks are loose; a rebuild when the chimney has moved.
What fixes failing mortar
| What you’re seeing | Where it’s fixed |
|---|---|
| Joints recessed or sandy, bricks sound | tuckpointing and repointing |
| Loose or spalled bricks as well | brick and mortar repair |
| Bricks moving above the roof line | a partial rebuild |
Mortar should be softer than the brick; a hard patch can crack the brick around it. Parts of a chimney shows where each joint sits. Local: chimney repair in Sanford or Leesburg masonry repair.
References (1)
Facts and figures on this page come from these references.